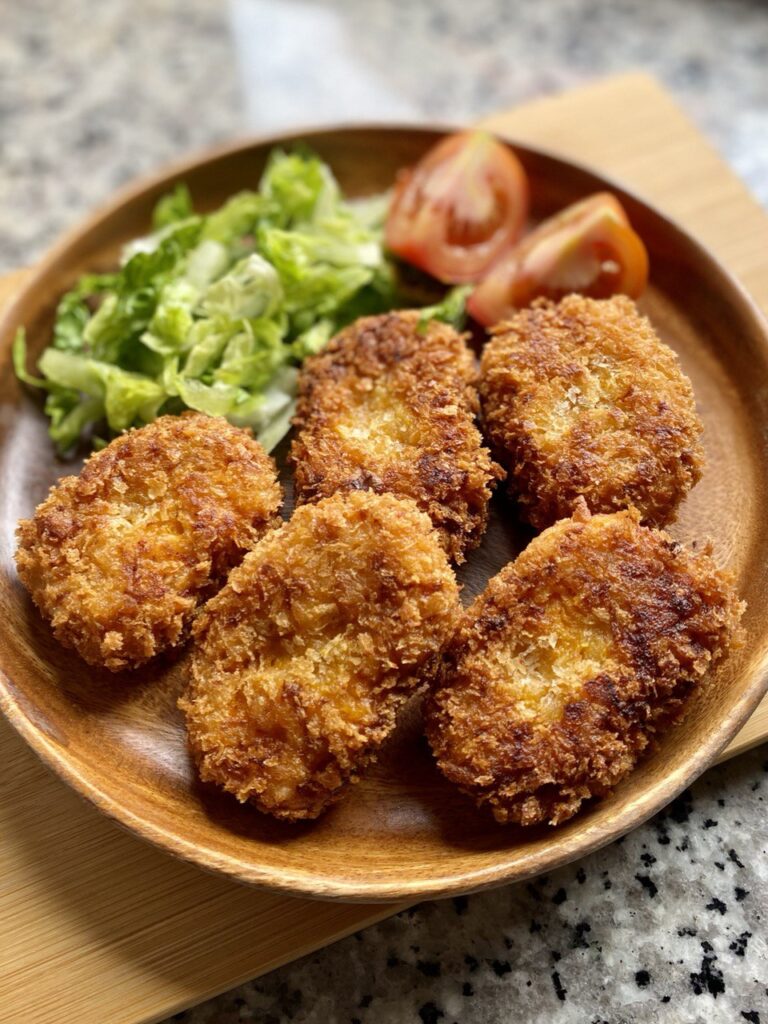
The crispiest vegan pumpkin croquette paired with a umami and sour tonkatsu sauce. Eat it on its own or try it in a onigirazu! When […]
Category: Lunch
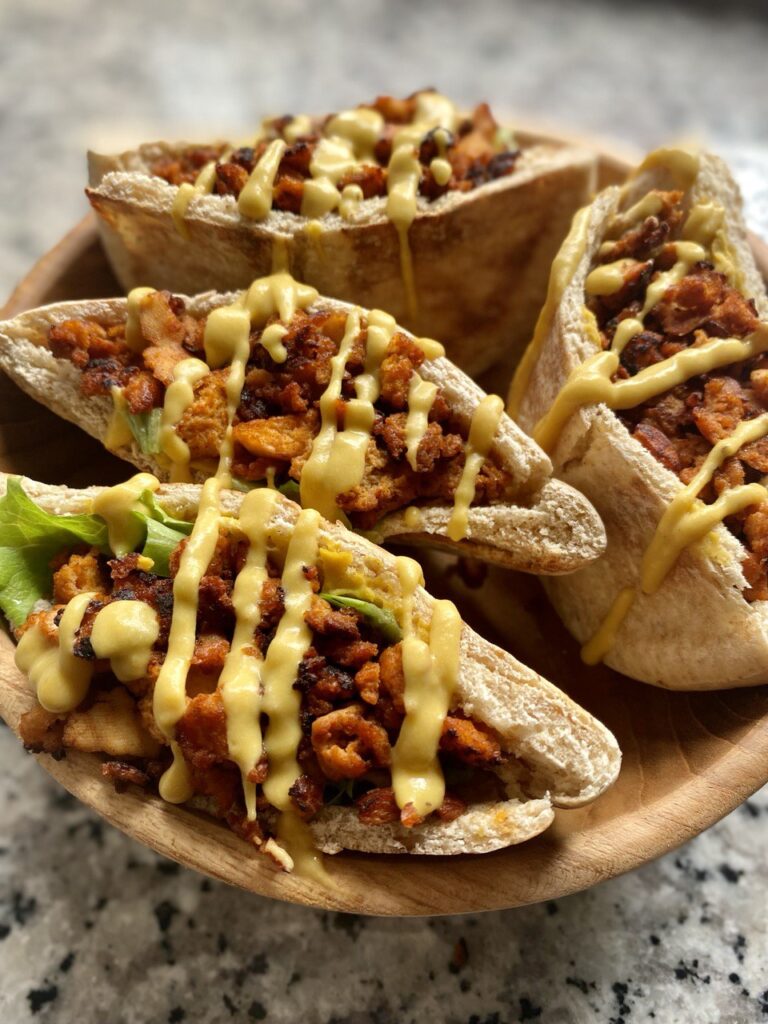
Vegan Chorizo Pita Pockets
This homemade vegan chorizo can be made in 15 minutes and is smokey, firm with a subtle hint of sweetness. It tastes just like the […]
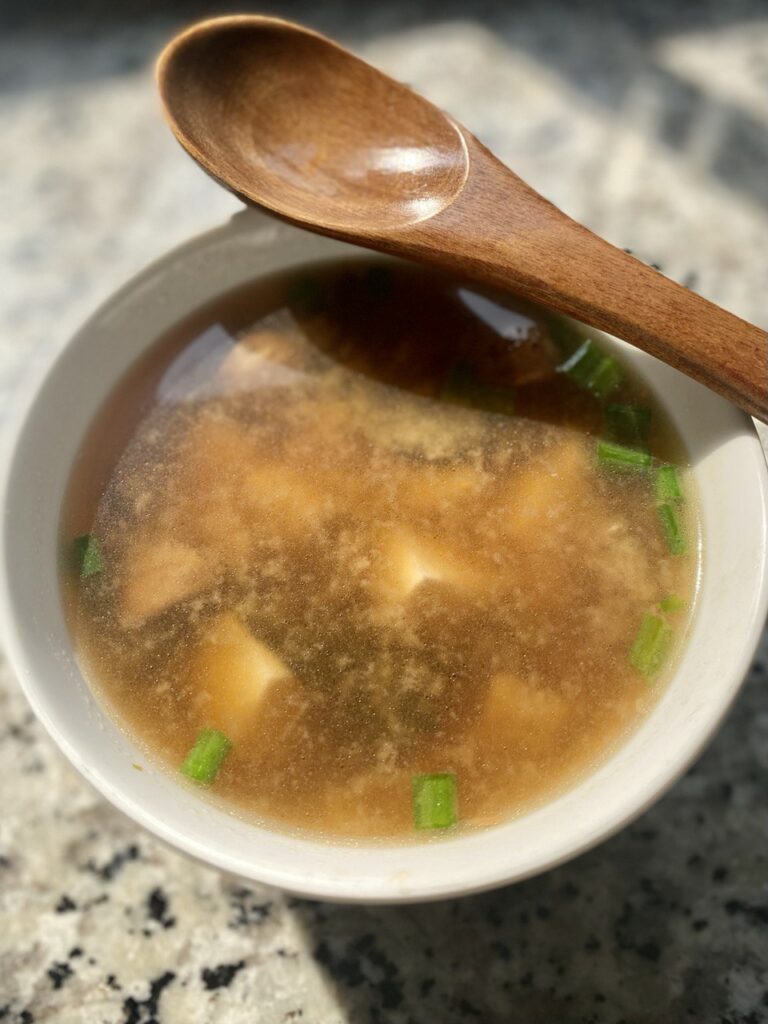
10-min Miso Soup with Tofu
Grab your miso, tofu and ginger to make this super easy comforting homemade 10-minute miso soup. Vegan AND gluten free! Feeling under the weather? Have […]
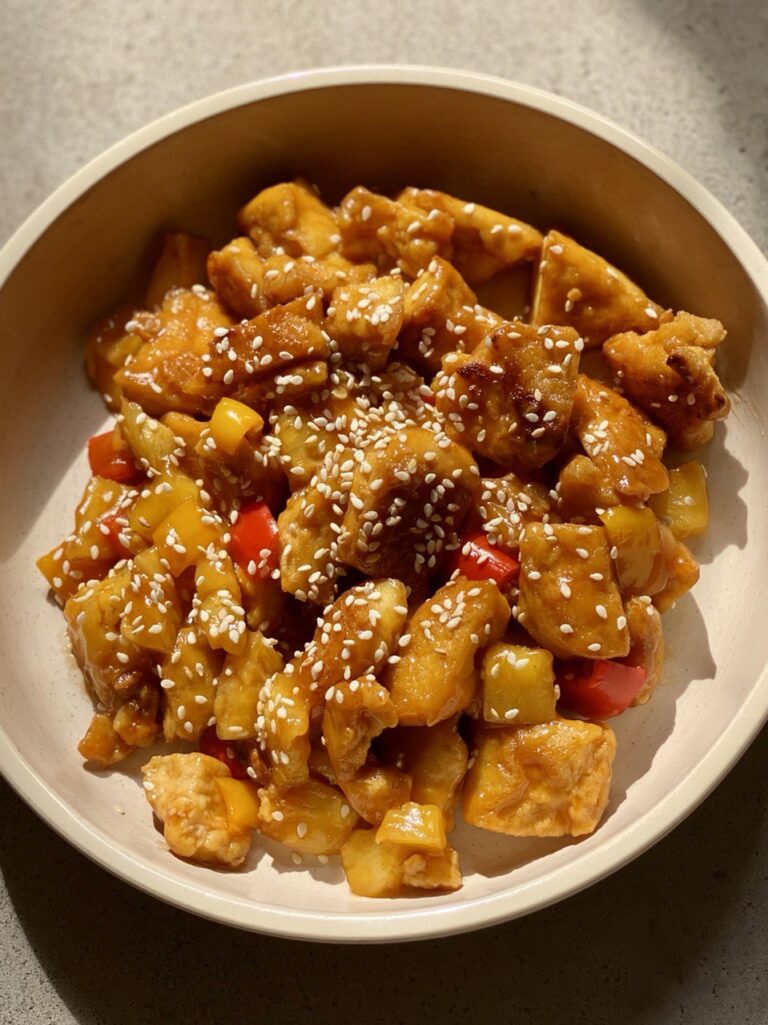
Vegan Sweet & Sour ‘Pork’
This Sweet & Sour ‘Pork’ is made using deep fried firm tofu, coated in an easy and incredible vegan sweet & sour sauce. Sweet and […]
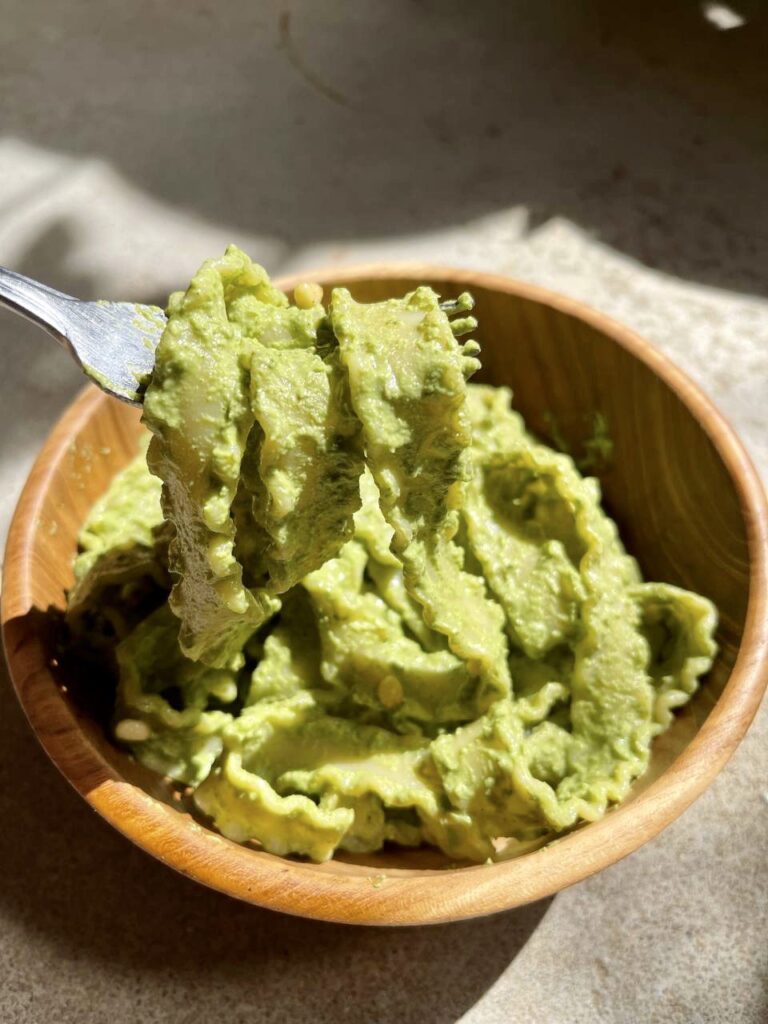
15-min Vegan Zucchini Pesto Pasta
I’m not kidding when I say – this is one of the easiest and creamiest pesto pasta recipe! You can make this gluten free and […]
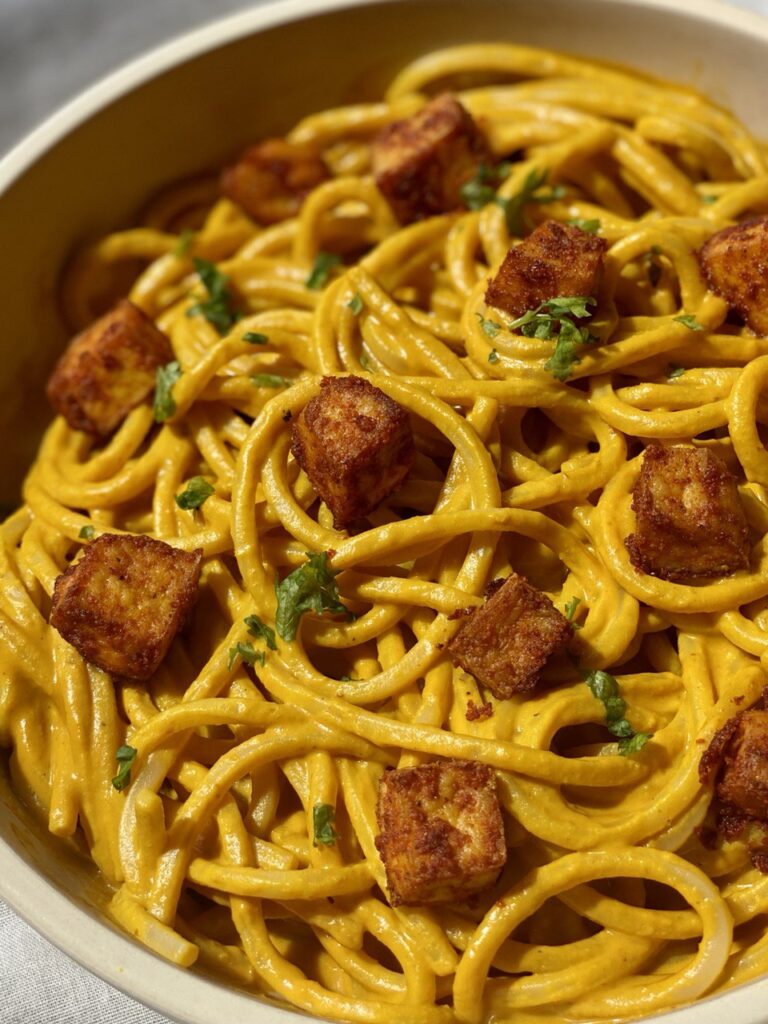
Cheesy Pumpkin Pasta with Chili Baked Tofu
This 30-min caramelized pumpkin pasta sauce is creamy, tangy, spicy with a subtle hint of sweetness – and pairs perfect with fiery baked tofu bites! […]
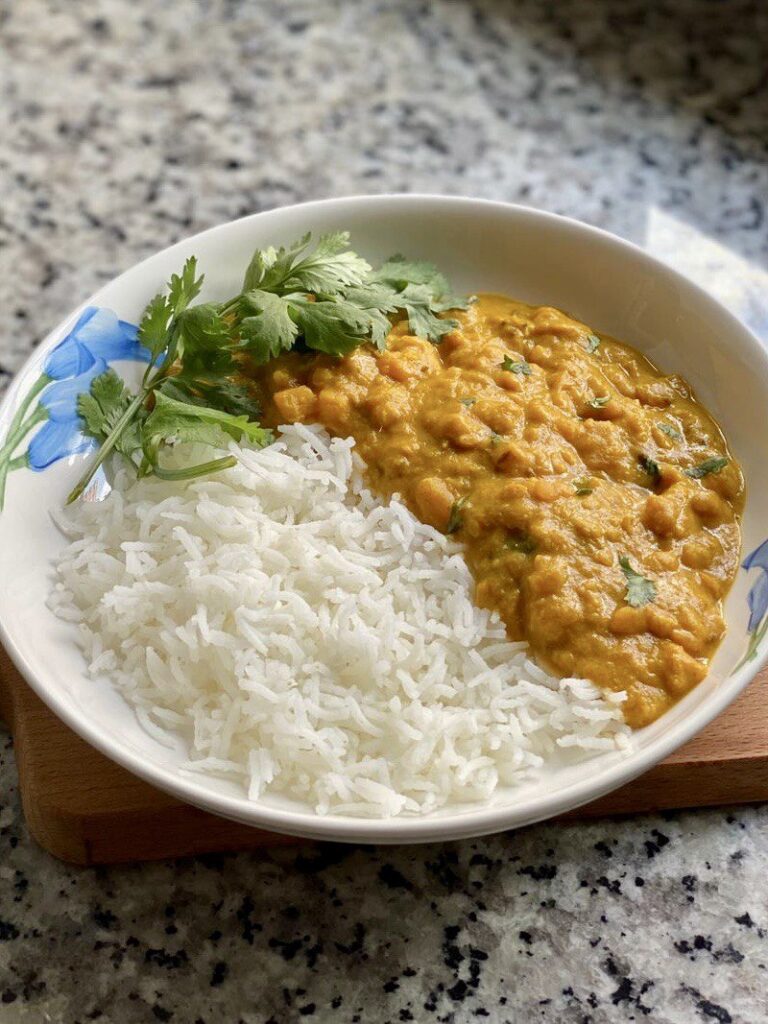
One-Pot Pumpkin Lentil Curry
The Pumpkin Lentil Curry can be made in just one pot and with pantry staples, like spices and red lentils. It’s creamy, delicious, aromatic and […]
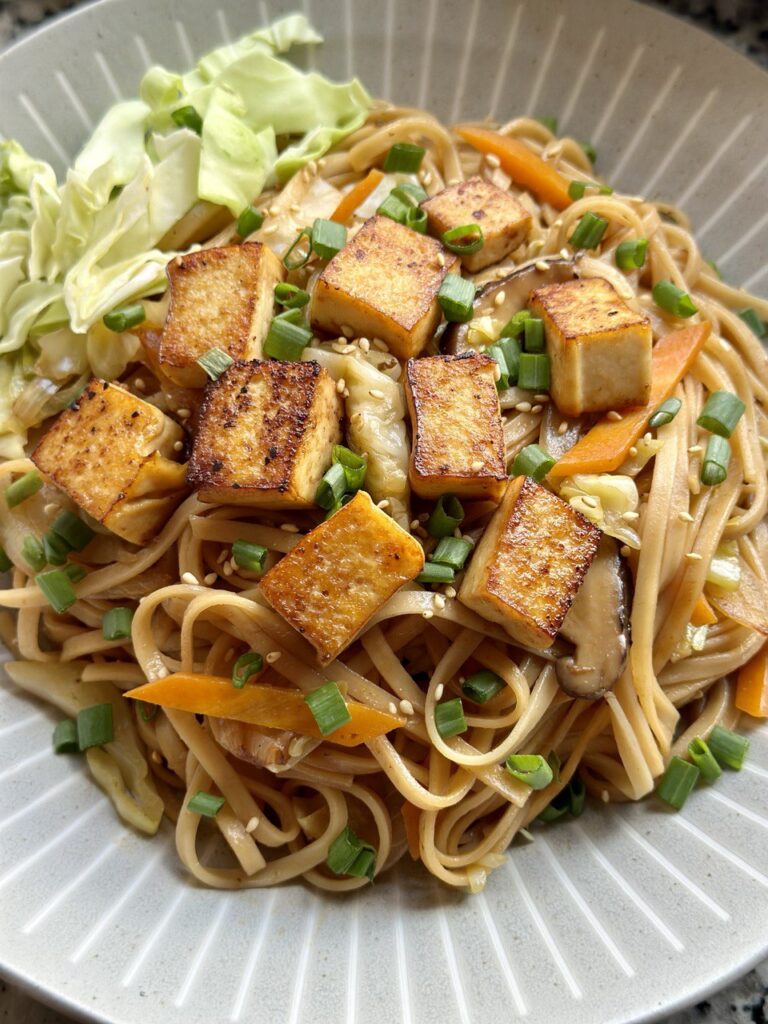
Vegan Yakisoba
Try this quick 15-minute Japanese silky stir-fried noodles, coated in a salty, umami sauce and packed with vegetables! Yakisoba is a Japanese stir-fried dish that […]

Vegan Miso Glazed Tofu
This time, we’re using miso to flavour this amazing, saucy MISO GLAZED TOFU! And it only takes 20 minutes to make! The Secrets to Making […]
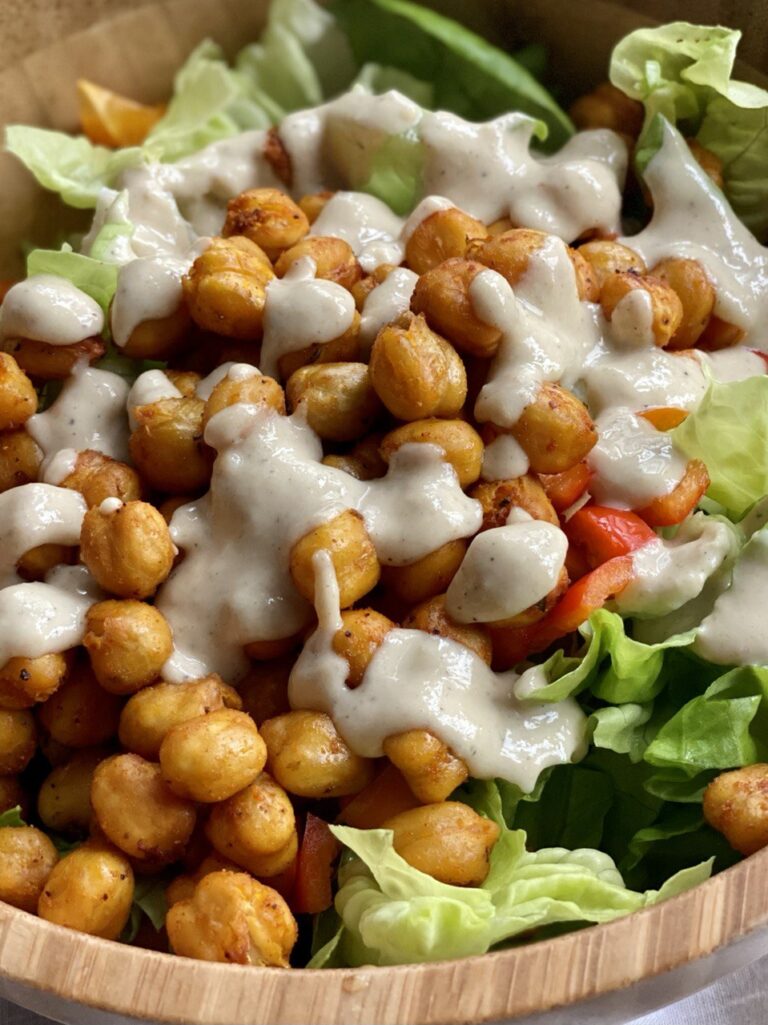
Roasted Spiced Chickpea Salad
Crispy oven roasted chickpeas & creamy tangy tahini dressing are topped on a crunchy bed of lettuce. Made in under 20 minutes after prep! The […]