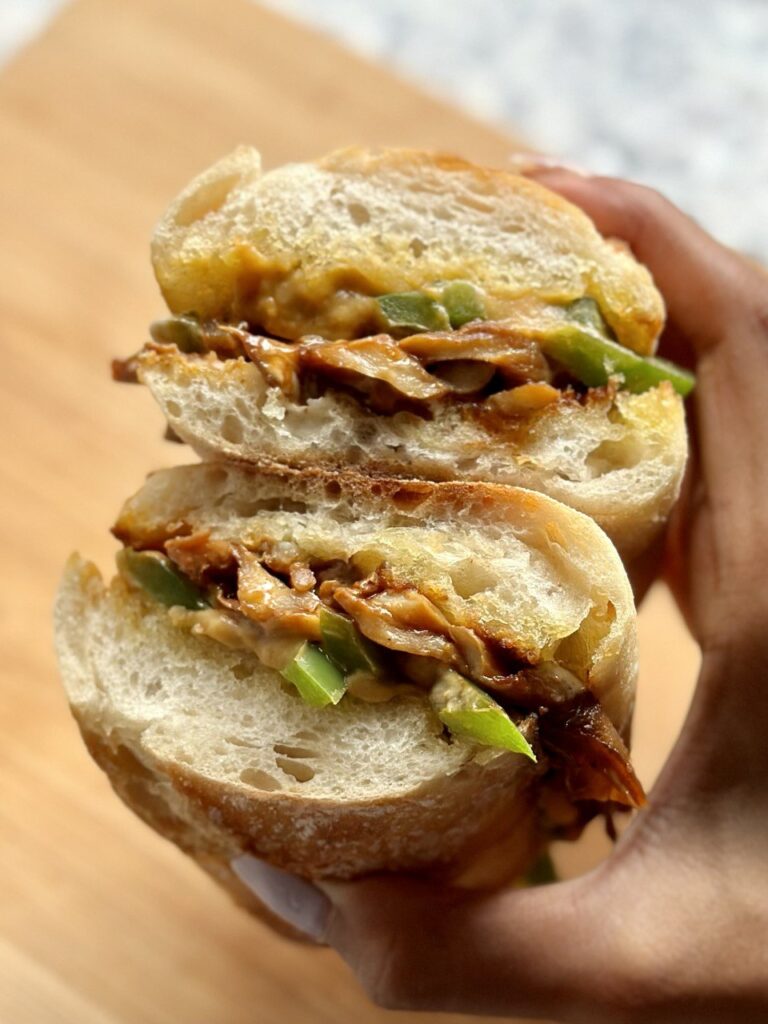
This classic sandwich with ‘beef’, bell peppers and cheese originating in Philadelphia now has a delicious vegan version that you won’t be able to get […]
Plant-based eating made easier than ever
This classic sandwich with ‘beef’, bell peppers and cheese originating in Philadelphia now has a delicious vegan version that you won’t be able to get […]
This crispy toast slathered with homemade vegan kaya jam and butter is a famous Singaporean breakfast food and once you try it, you will get […]
These rice paper dumplings with a spicy, indian twist is the comfort food that you didn’t know you needed – paired with a spicy chilli-tomato […]
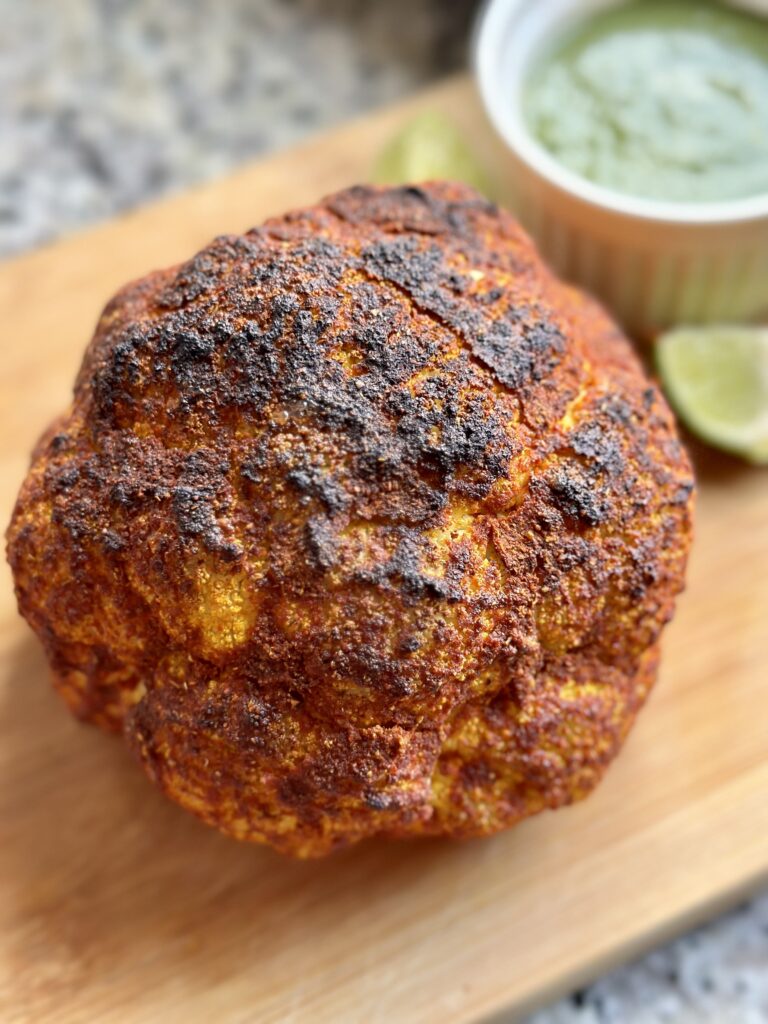
This fabulous, spicy centrepiece doesn’t need a lot of prep time and is absolutely delicious! Pair it with a creamy mint chutney to make a […]

This egg-free Japanese Tamago (egg) Sandwich tastes like the real thing and might be even simpler to make than the traditional version! With just a […]
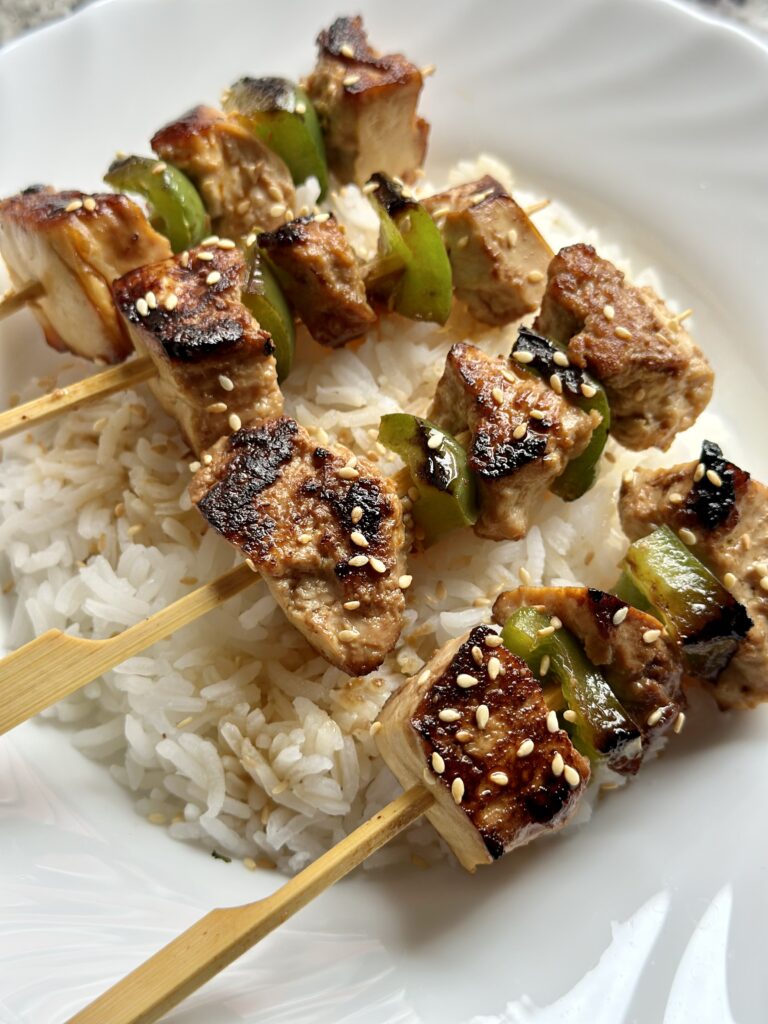
These grilled vegan Japanese skewers are packed with the juiciest marinated tofu and crunchy bell peppers – it will leave you wanting for more! Gluten […]
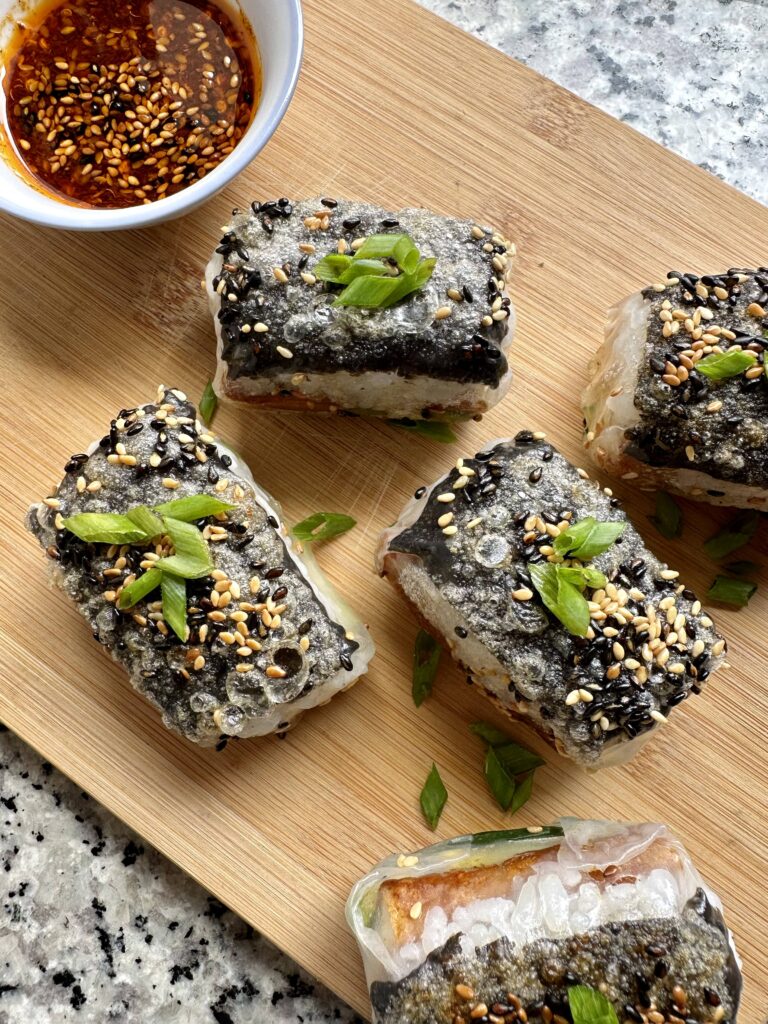
These ‘sushi dumplings’ is the most unique food trend that tastes amazing and is 100% vegan AND gluten free. Try it now! I’m not sure […]
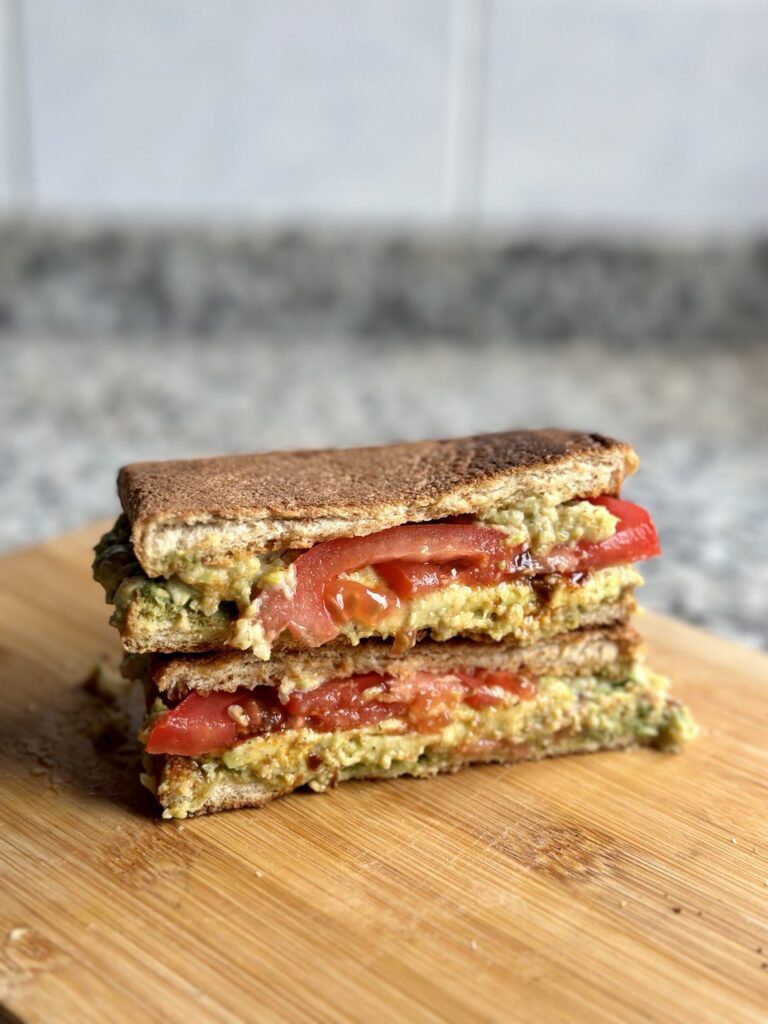
This viral sandwich from Joe and the Juice is simple enough to be made at home – this version is 100% vegan & can be […]

This crispy ‘egg’ battered eggplant dish is perfect when served over rice and paired with smoky ketchup. It’s also vegan AND gluten free! This mouthwatering […]
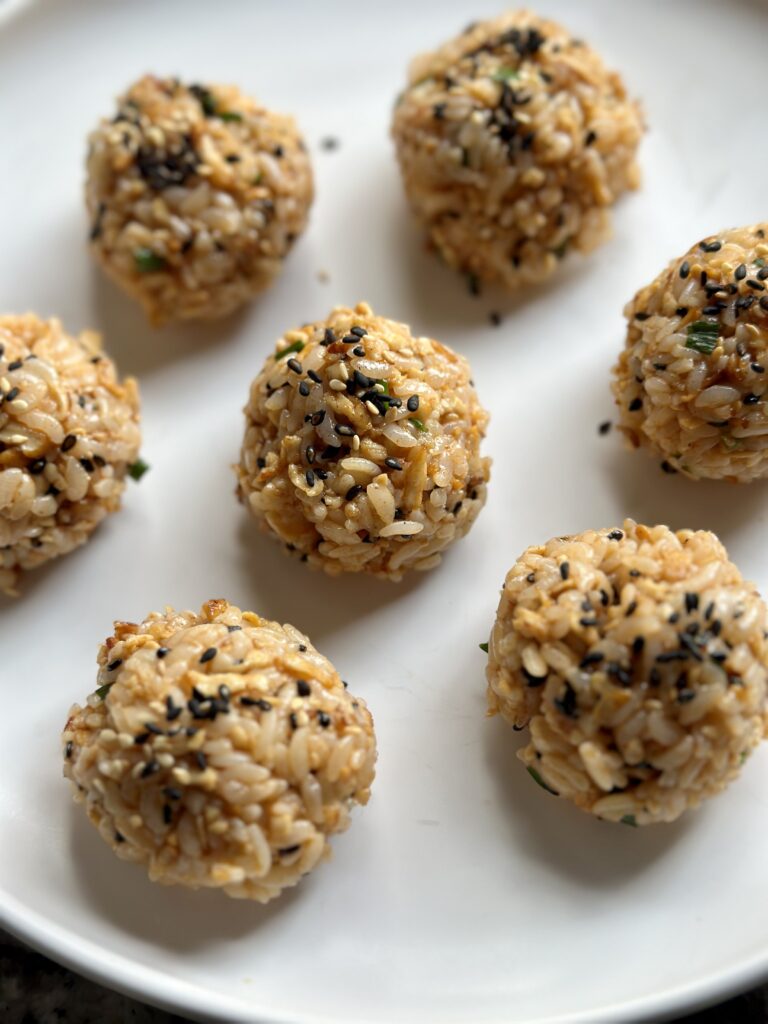
These delicious vegan salmon rice balls are inspired by Japanese Onigiri and is an easy meal or snack that can be prepared in under 30 […]