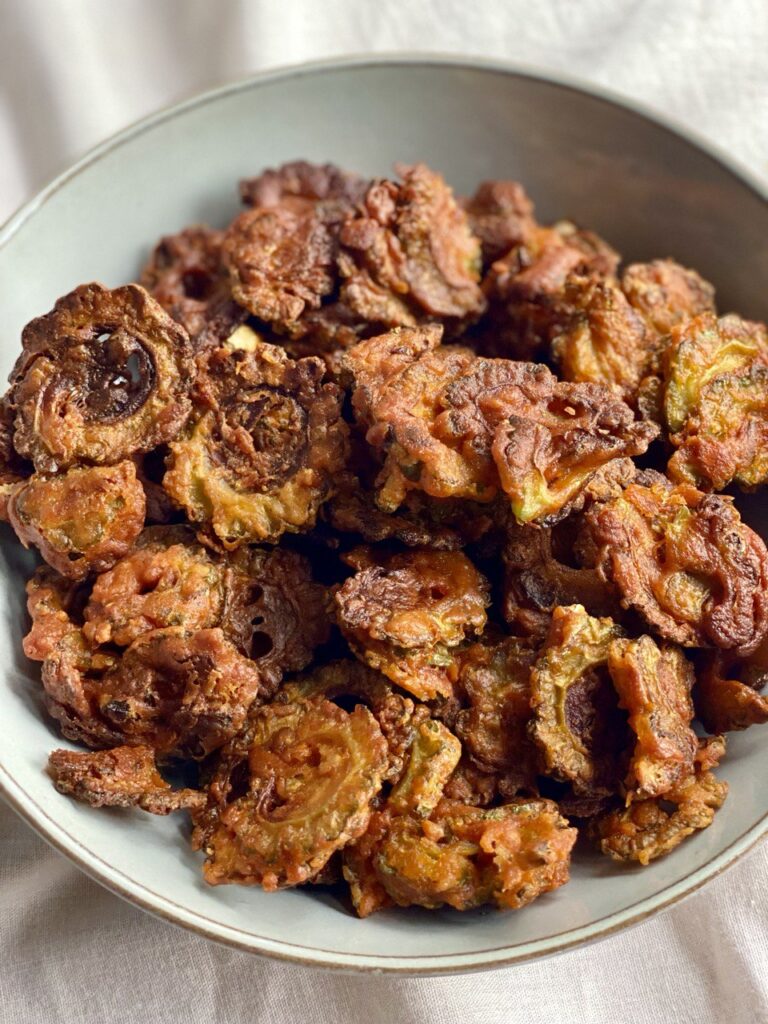
These spicy, feisty and flavorful Indian crisps are the perfect snack or side dish. You can also make them gluten free! This tandoori batter is […]
Plant-based eating made easier than ever
These spicy, feisty and flavorful Indian crisps are the perfect snack or side dish. You can also make them gluten free! This tandoori batter is […]
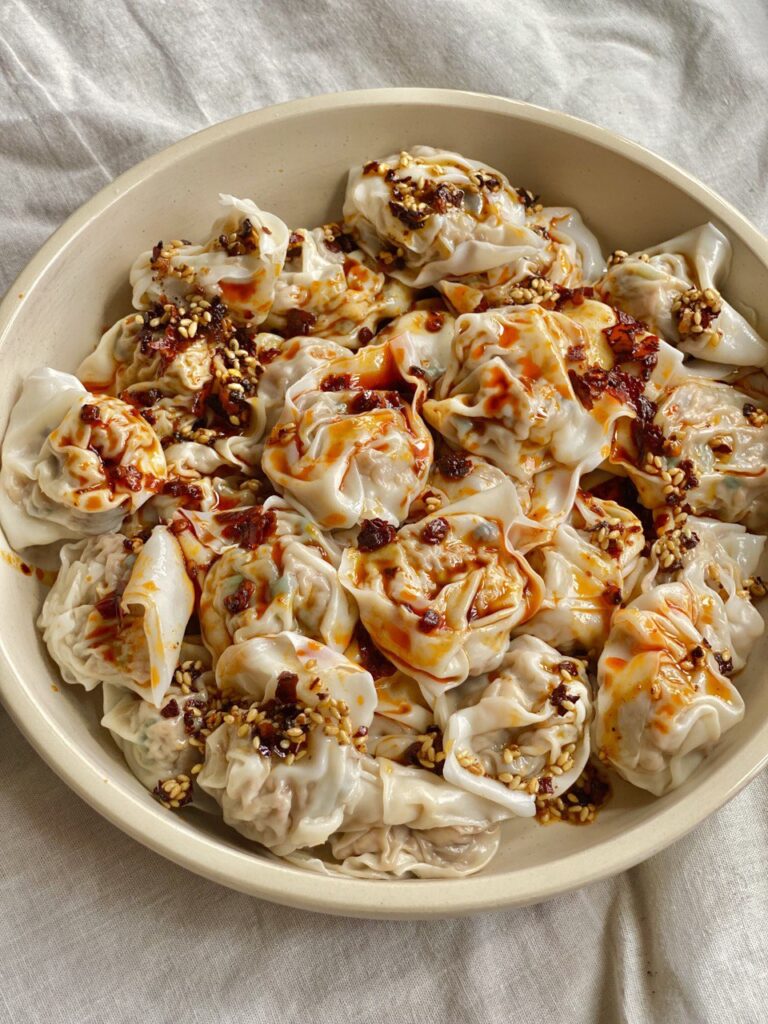
These spicy dumplings are a vegan version of traditional Chinese wontons filled with firm tofu, vegetables and drizzled with a hot chili oil sauce. Wonton […]
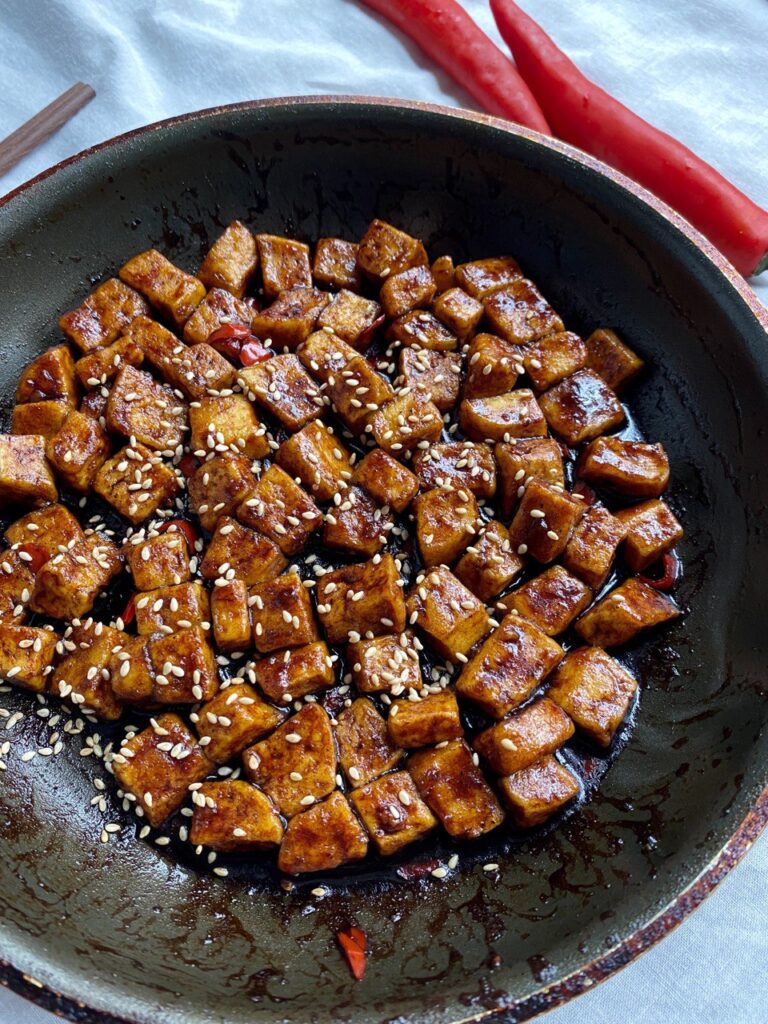
These 15-minute black pepper tofu bites are savoury, spicy and super addictive. They can also be made gluten free! This Black Pepper Tofu recipe cleared […]
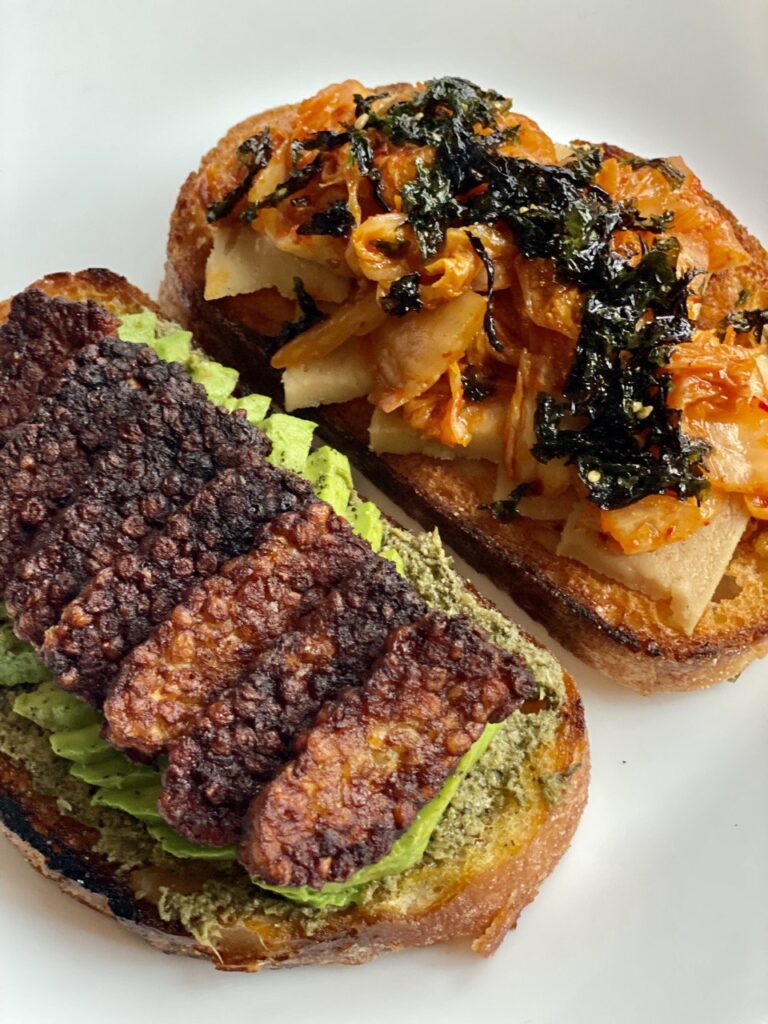
Toasting away with unique toppings! Here are some of my pointers to make the best vegan toasts that are full of FLAVOUR! Layering your toasts […]
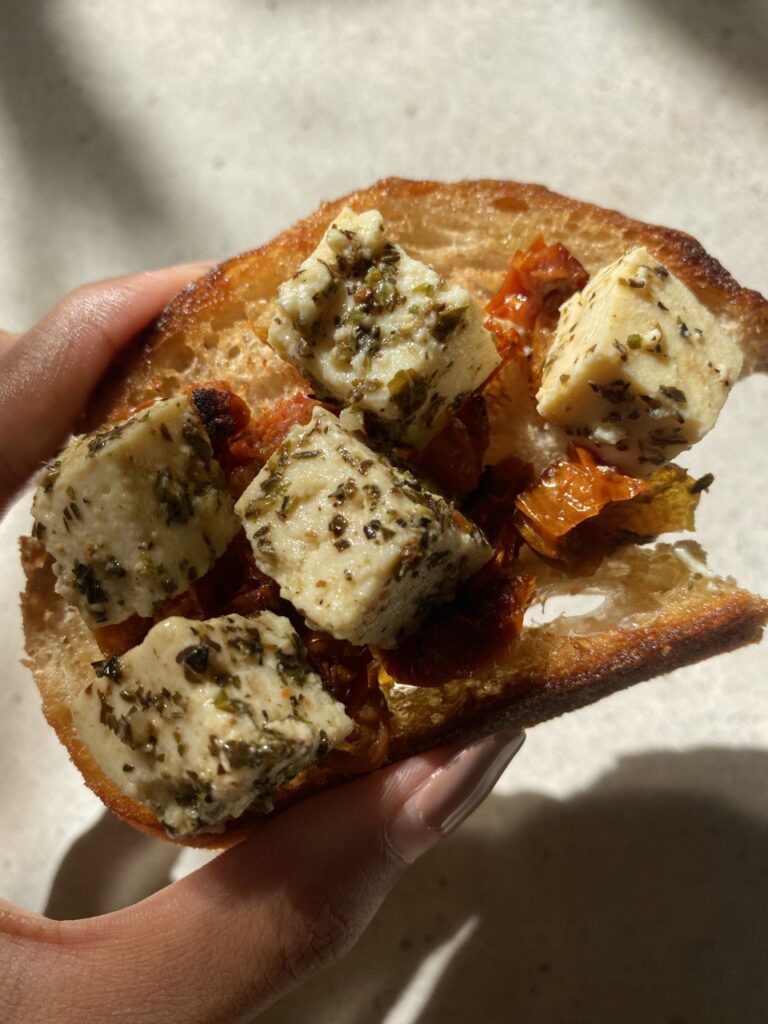
Feta in itself is incredibly versatile and can be used in any dish that needs a salty and tangy companion. This vegan version is made […]
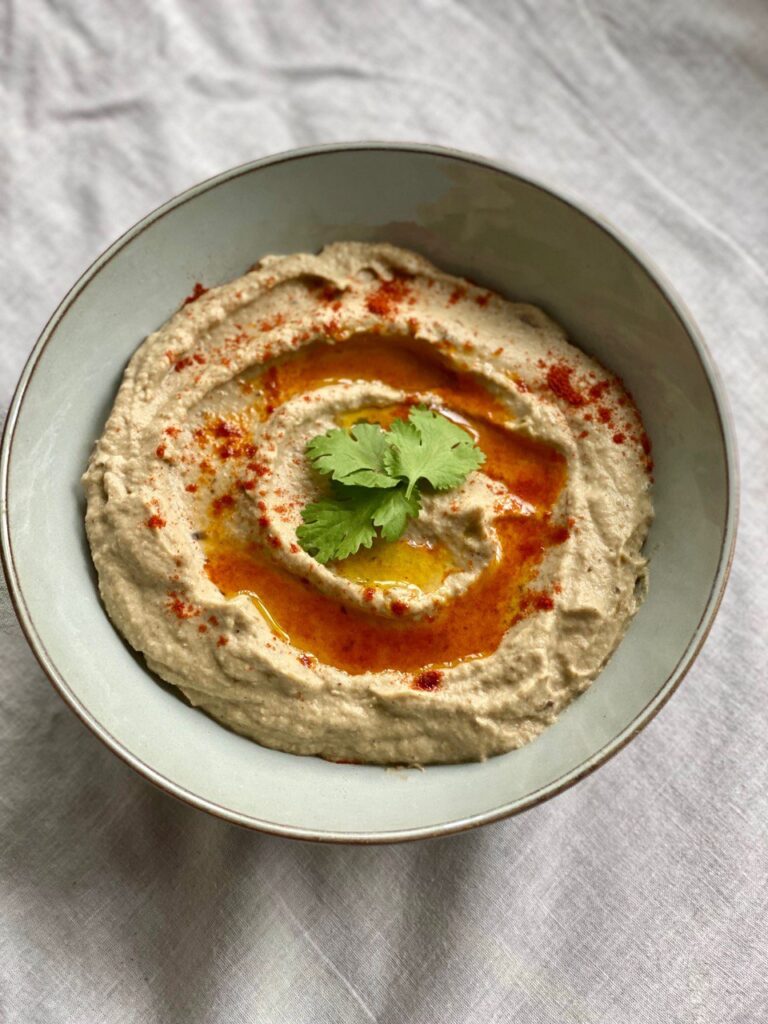
A close competitor of the great and famous HUMMUS – This roasted eggplant dip is for any smoky and feisty dip lover. My hummus obsession […]
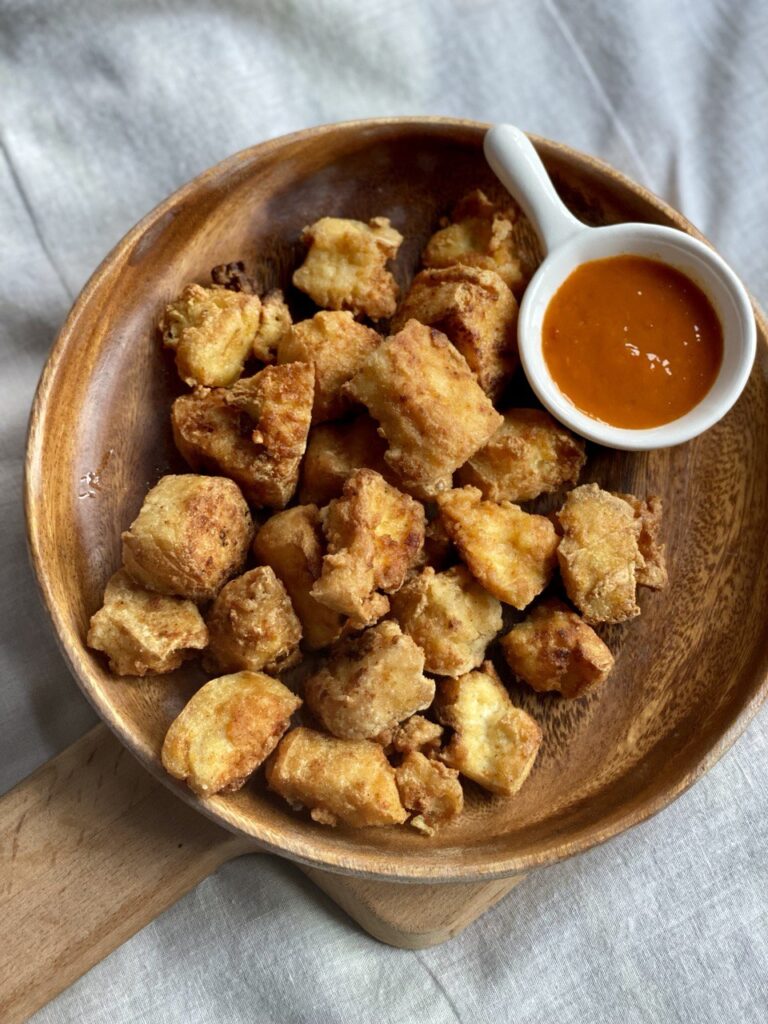
100% vegan and gluten goodness! Make this healthy popcorn tofu at home in just 10 minutes. It’s crunchy, firm and juicy! Here with another tofu […]
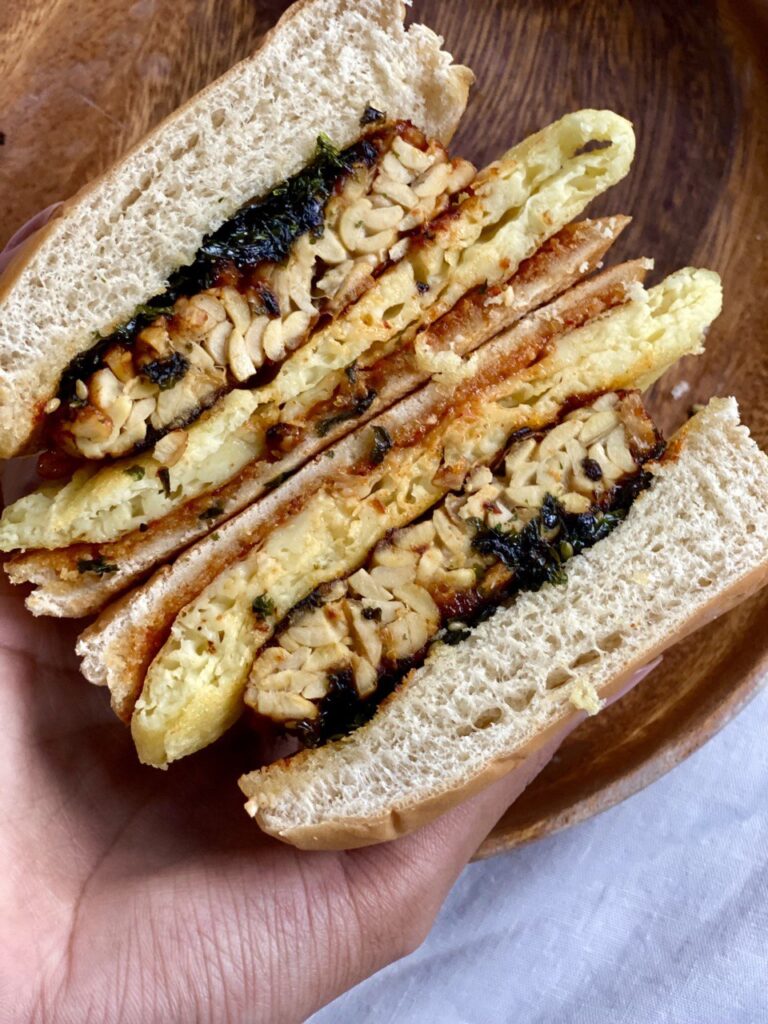
If someone had made this Gochujang Tempeh sandwich back when I was a tempeh hater, I would have folded. This gorgeous gorgeous Gochujang Tempeh is […]
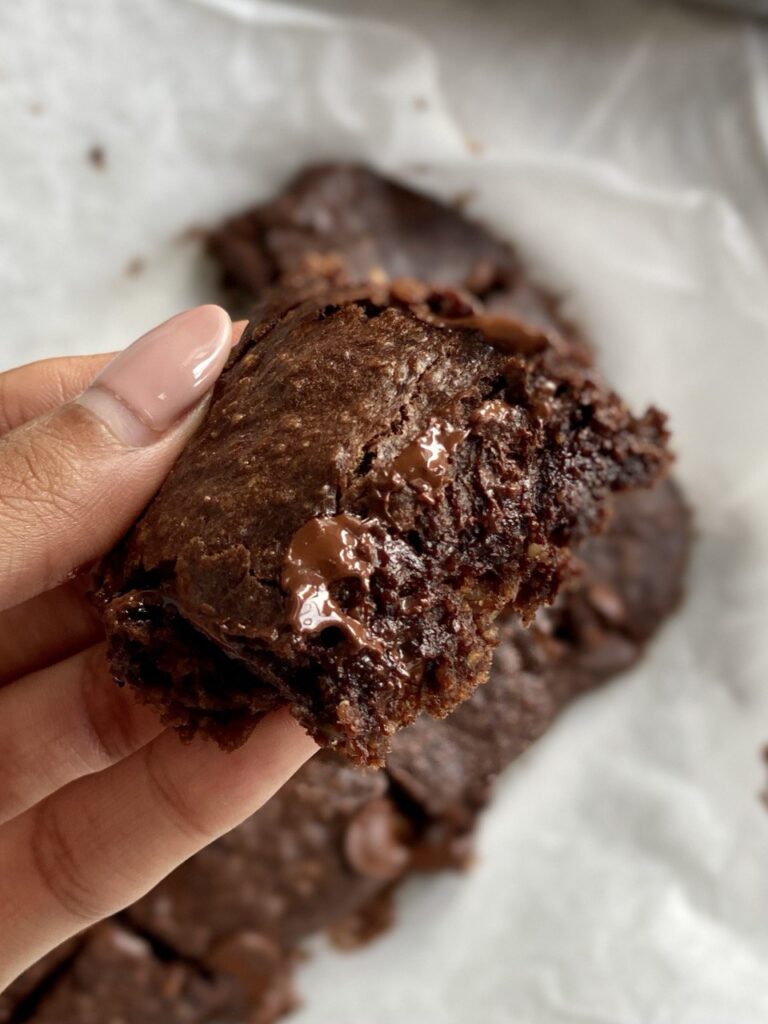
These vegan, gluten free & refined sugar free fudgy brownies are so addictive, you may not want to share this one! 😉 I’ve been craving […]
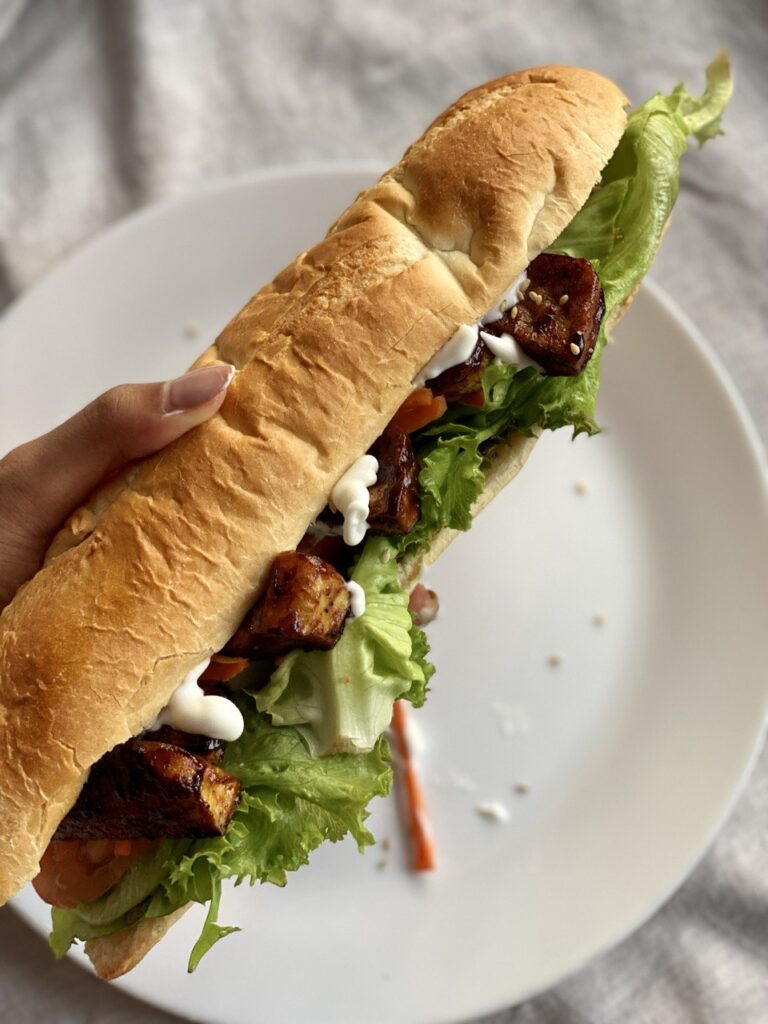
Infusing Asian flavours into recipes is my favourite thing to do – this vegan sandwich is packed with flavour from the teriyaki tofu, vegan mayo […]