This crispy toast slathered with homemade vegan kaya jam and butter is a famous Singaporean breakfast food and once you try it, you will get […]
Author: ramyaramesh3007
Spicy Keema Rice Paper Dumplings
These rice paper dumplings with a spicy, indian twist is the comfort food that you didn’t know you needed – paired with a spicy chilli-tomato […]
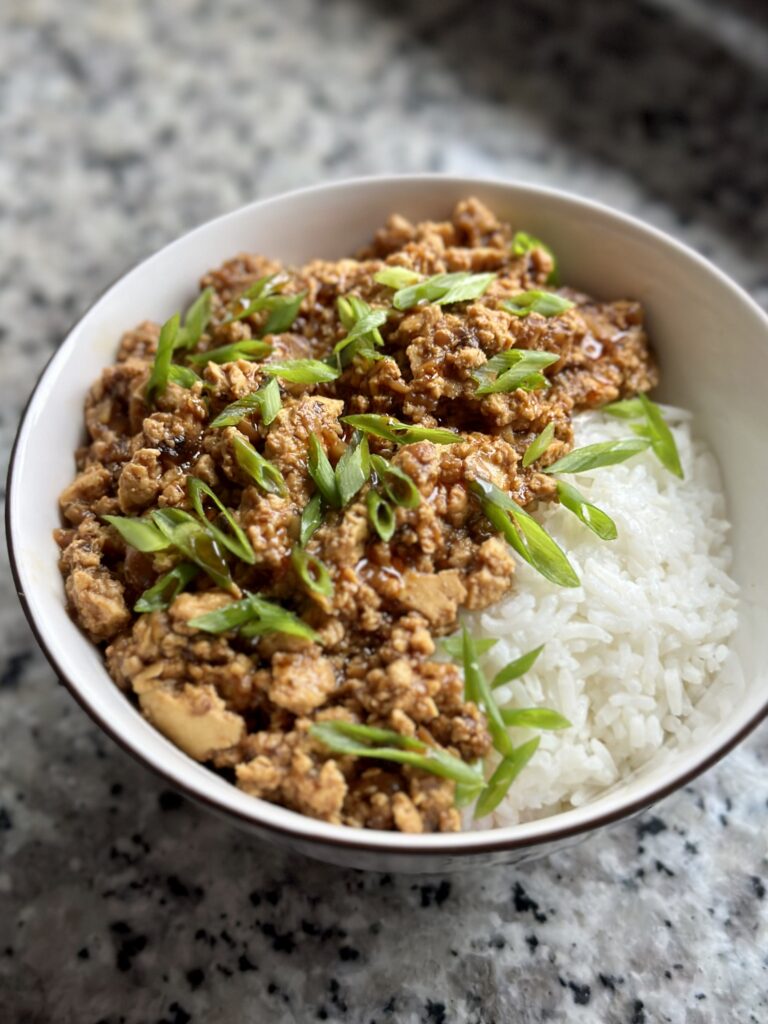
Vegan Lu Rou Fan (Taiwanese Braised Pork Rice Bowl)
Try this vegan version of the popular braised minced meat rice bowl from Taiwan – it’s an absolute comfort food with a melt-in-your-mouth texture that’s […]
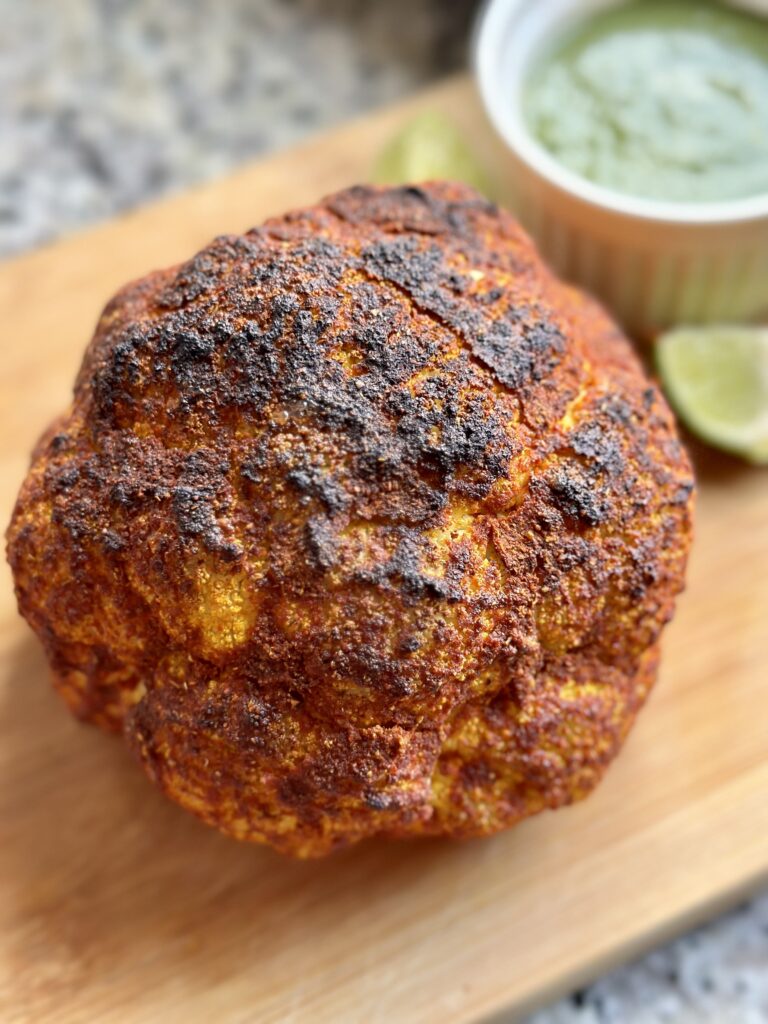
Roasted Tandoori Cauliflower (2 ways)
This fabulous, spicy centrepiece doesn’t need a lot of prep time and is absolutely delicious! Pair it with a creamy mint chutney to make a […]

Vegan Japanese Egg Sandwich
This egg-free Japanese Tamago (egg) Sandwich tastes like the real thing and might be even simpler to make than the traditional version! With just a […]
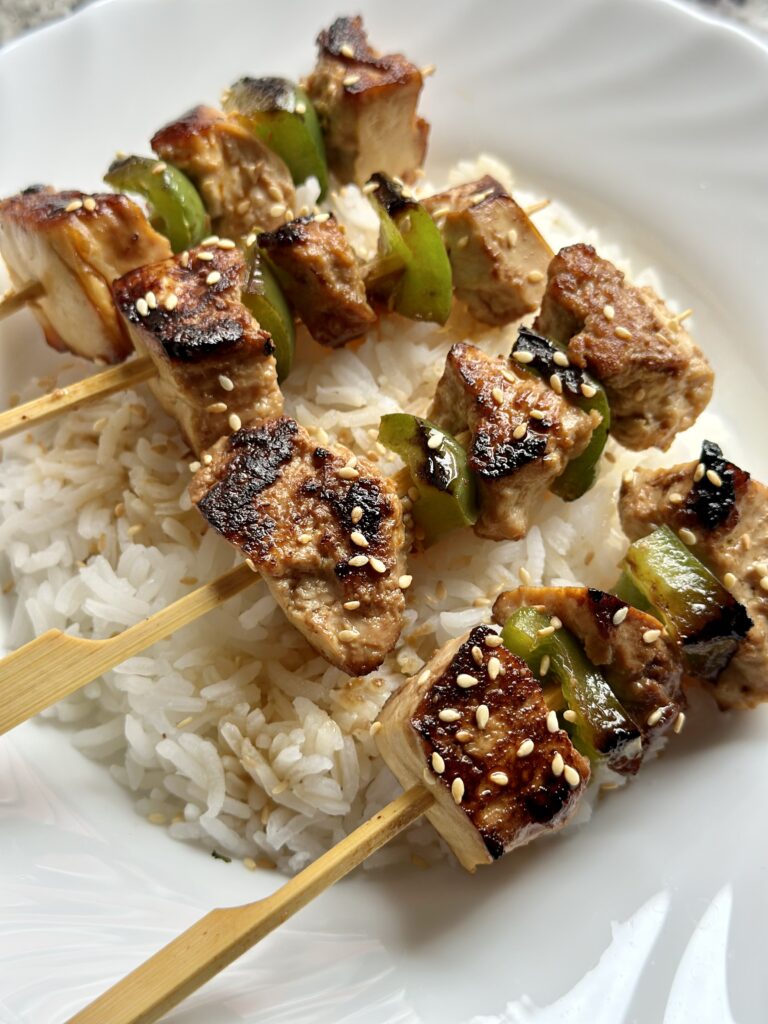
Vegan Yakitori (Japanese Grilled Skewers)
These grilled vegan Japanese skewers are packed with the juiciest marinated tofu and crunchy bell peppers – it will leave you wanting for more! Gluten […]

Vegan Kimchi Grilled Cheese Sandwich
Spicy kimchi combined with a twist of melty mozzarella cheese with crisp toasted bread calls for perfection – another one of my classic sandwich favourites! […]
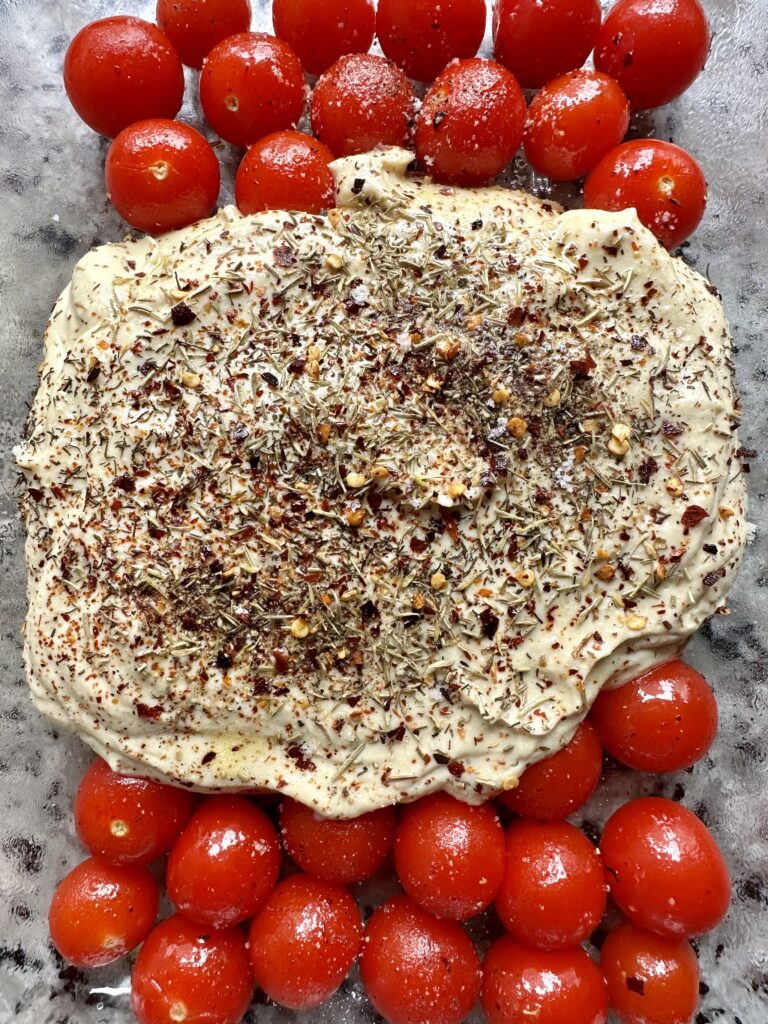
Vegan Baked Feta Pasta
This vegan version of the TikTok viral Baked Feta Pasta is packed with flavour and is ultra cheesy WITHOUT any vegan cheese! You can make […]
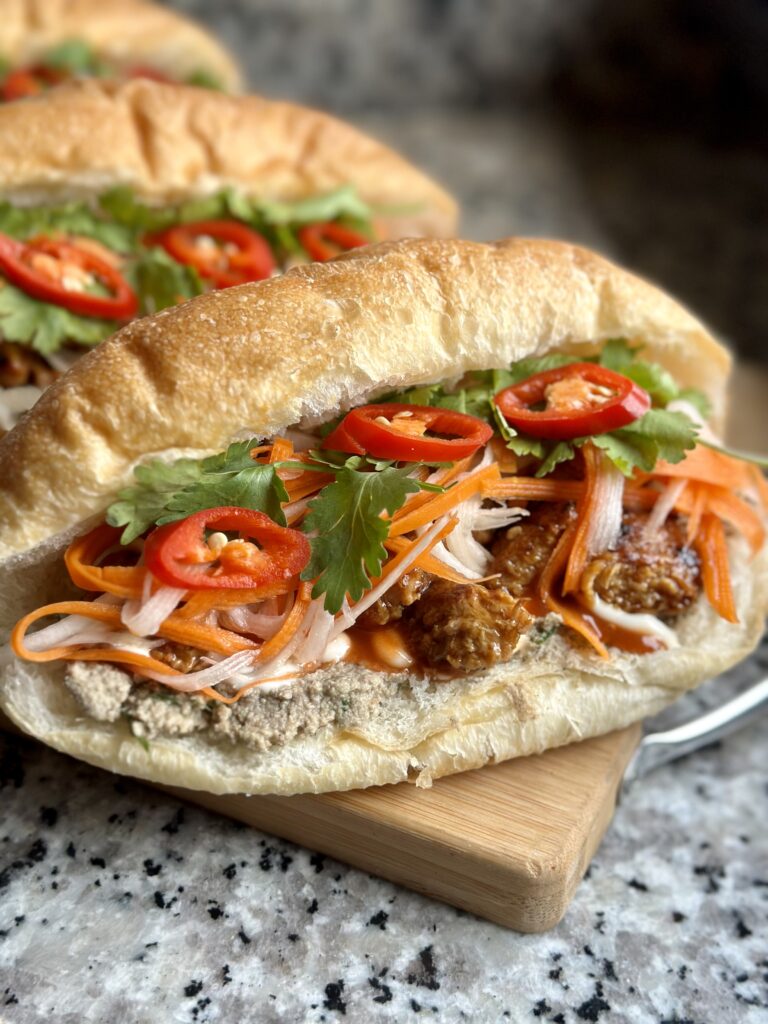
Best Vegan Banh Mi Sandwich
The secrets to the most flavourful Banh Mi are a flavourful paté, succulent vegan ‘meat’ filling, pickled vegetables and fresh herbs – learn how to […]
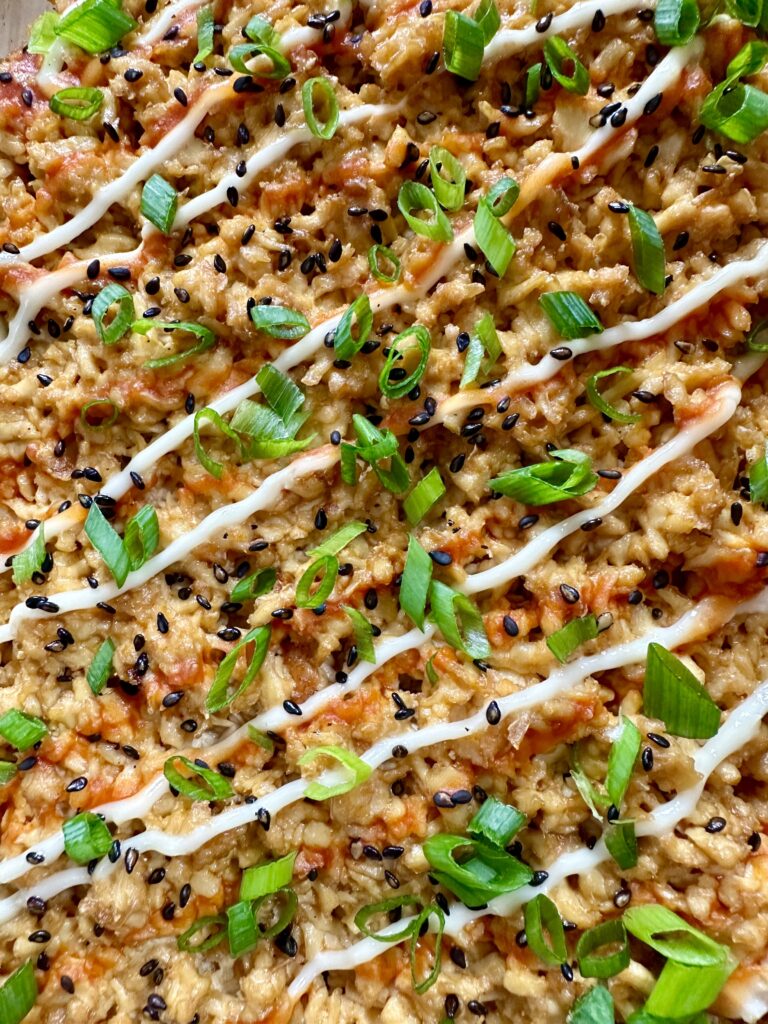
Easy Vegan Salmon Sushi Bake
This easy sushi bake will satisfy your cravings for sushi and baked rice at the same time – it’s made with shredded tofu and is […]