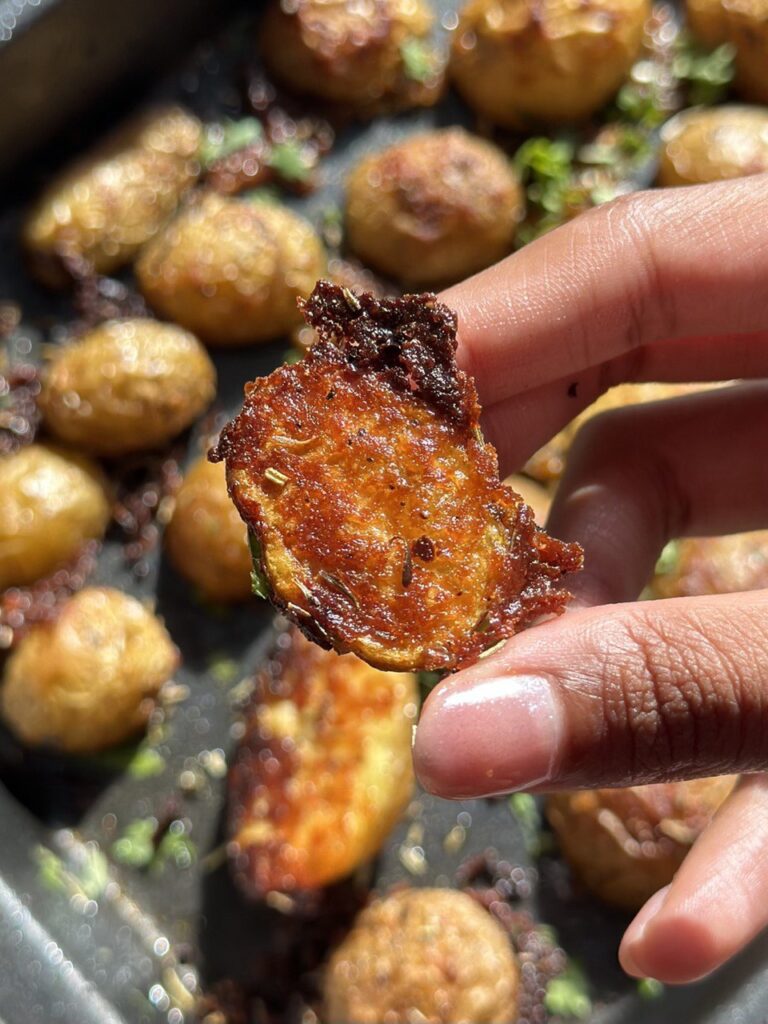
This is an easy, vegan version of the TikTok viral crispy parmesan potatoes – the perfect one-pan side dish for the holiday season. These crispy […]
Author: ramyaramesh3007
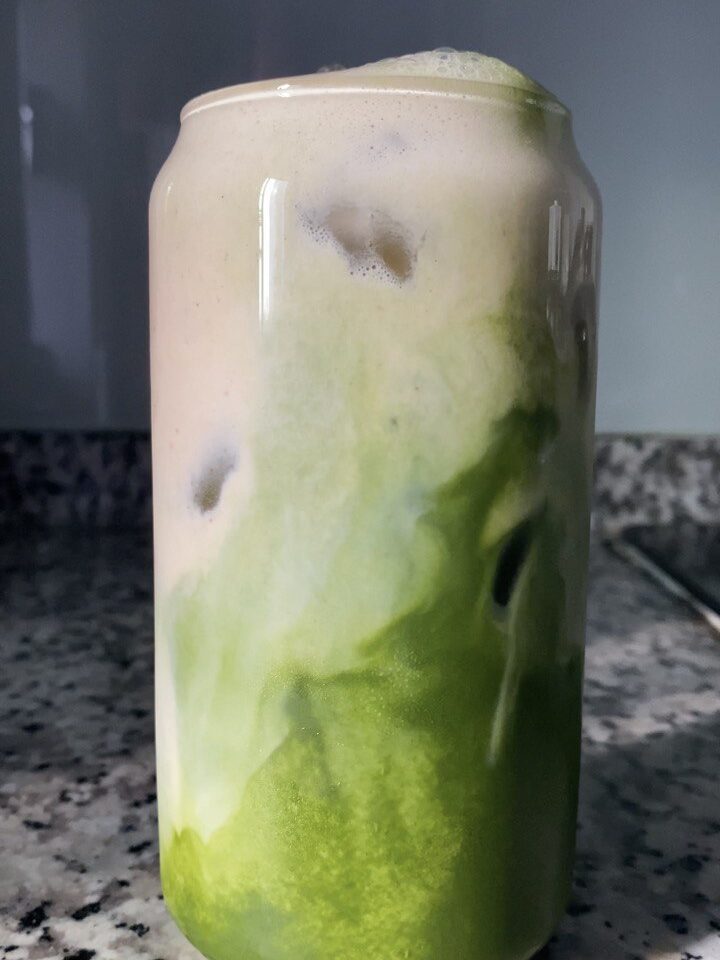
Pumpkin Spice Cold Foam Matcha
This pumpkin spice cold foam matcha is comfort in a cup. Skip the Starbucks and make this in just 15 minutes! What’s in this Pumpkin […]
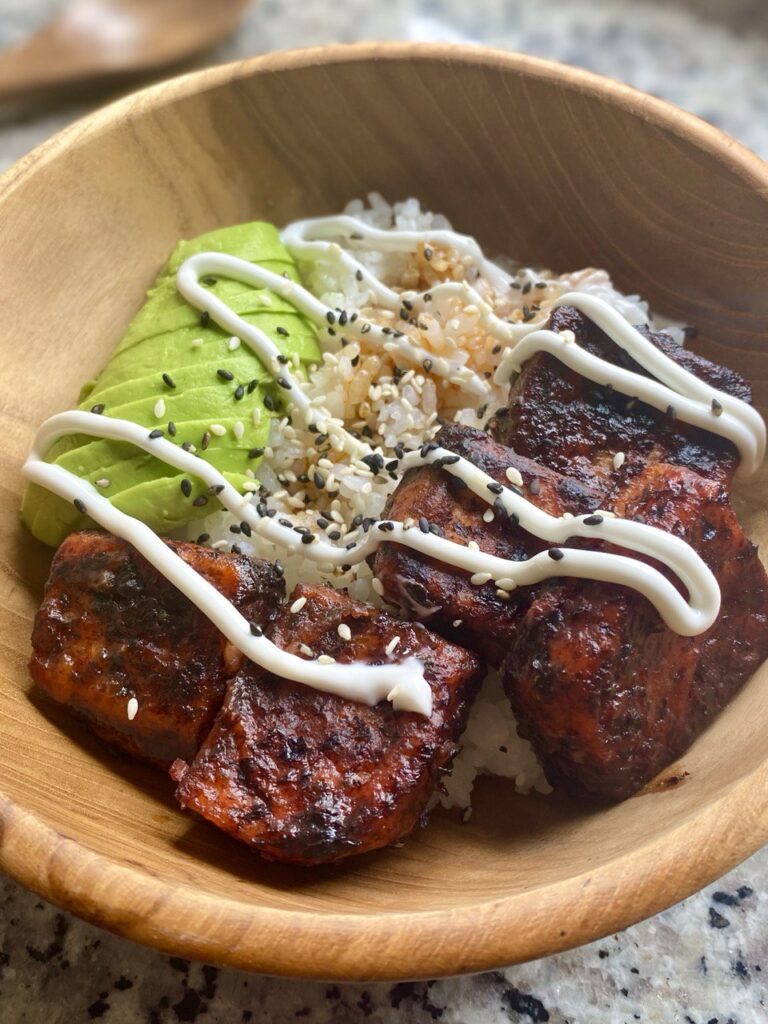
Vegan Honey Salmon Rice Bowl
This Blackened Salmon Rice Bowl is made with vegan salmon, creamy avocado slices, sushi rice and topped with toasted sesame seeds and vegan mayo. When […]
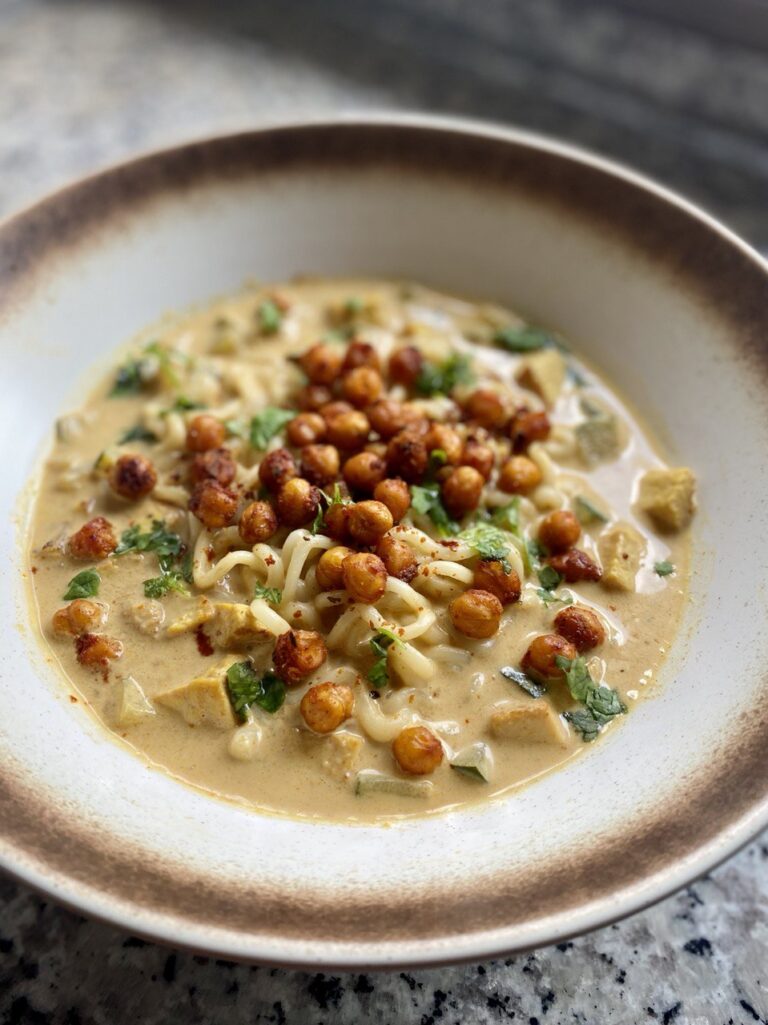
Thai Coconut Chickpea Curry Ramen
Creamy & silky thai style coconut milk broth with thick chewy ramen noodles, topped with spiced crispy chickpeas – the perfect meal. You need to […]
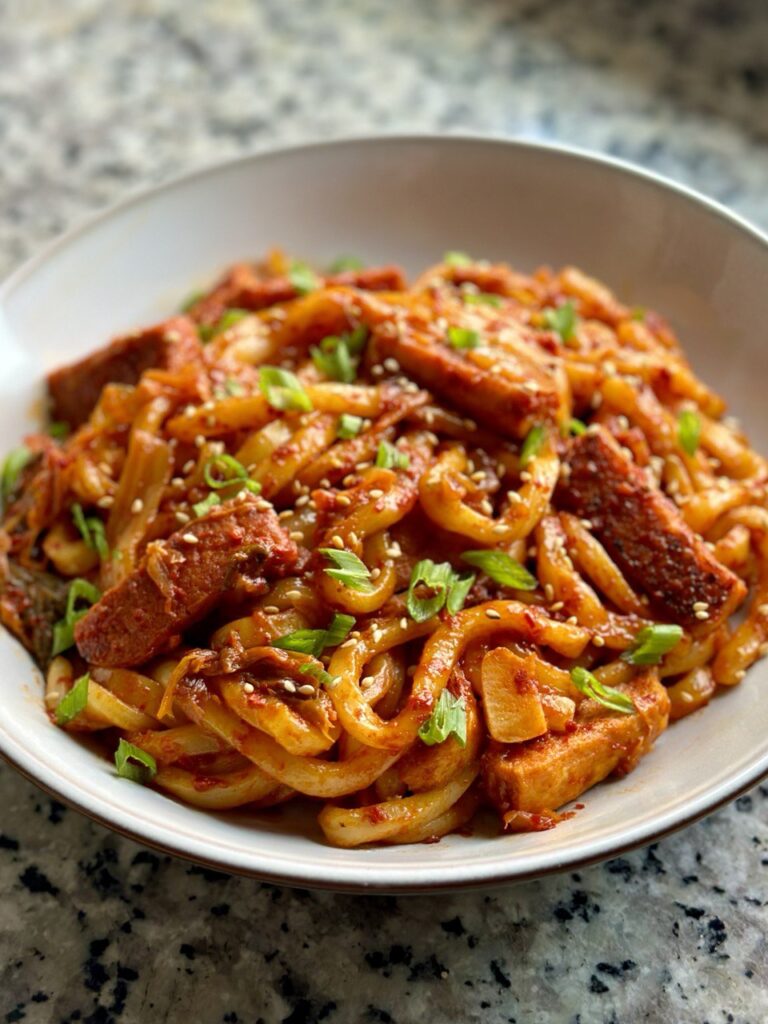
Spicy Kimchi Udon
This fiery duo of kimchi and gochujang is enough to make you addicted to these spicy & slurpy 15-minute udon noodles! I find kimchi to […]

Vegan Butter Chicken (Murgh Makhani)
This homemade vegan butter chicken recipe is buttery, ultra creamy with a subtle hint of sweetness and pairs perfectly with fluffy basmati rice or naan! […]

Japanese Pumpkin Croquette (Kabocha Korokke)
The crispiest vegan pumpkin croquette paired with a umami and sour tonkatsu sauce. Eat it on its own or try it in a onigirazu! When […]

Vegan Chorizo Pita Pockets
This homemade vegan chorizo can be made in 15 minutes and is smokey, firm with a subtle hint of sweetness. It tastes just like the […]
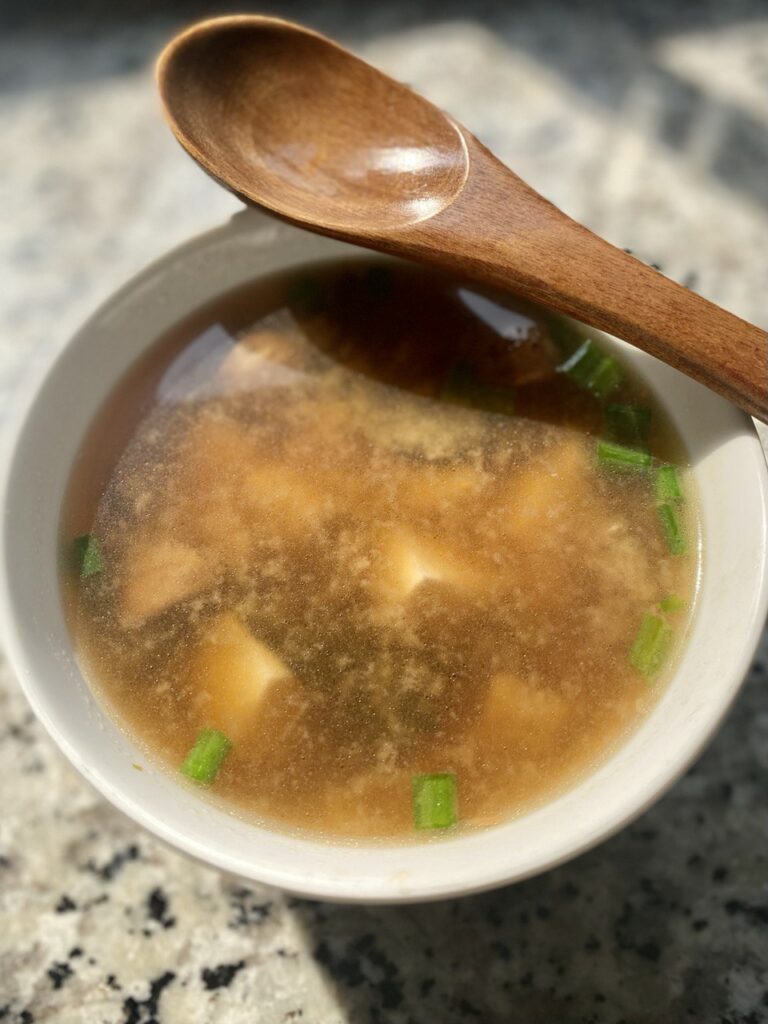
10-min Miso Soup with Tofu
Grab your miso, tofu and ginger to make this super easy comforting homemade 10-minute miso soup. Vegan AND gluten free! Feeling under the weather? Have […]
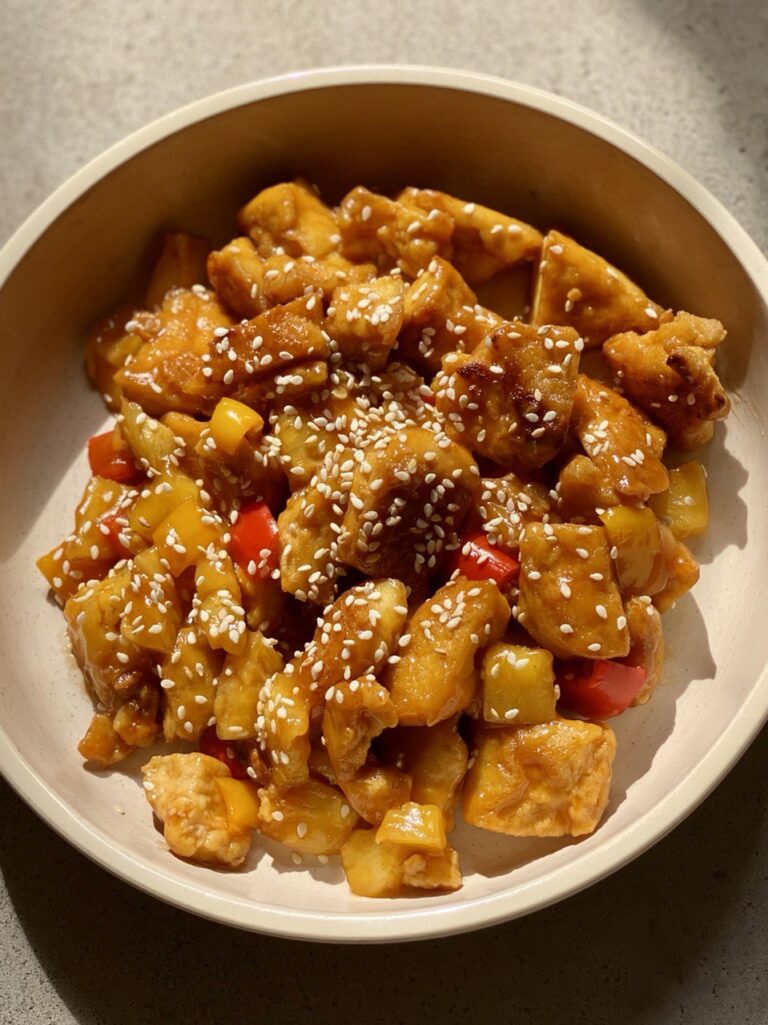
Vegan Sweet & Sour ‘Pork’
This Sweet & Sour ‘Pork’ is made using deep fried firm tofu, coated in an easy and incredible vegan sweet & sour sauce. Sweet and […]