This viral mini microwaveable hotpot is quick to make & packed with vegetables, protein and sauce to make for the most convenient and delicious meal! […]
Plant-based eating made easier than ever
This viral mini microwaveable hotpot is quick to make & packed with vegetables, protein and sauce to make for the most convenient and delicious meal! […]

This super quick & easy Bibim Guksu is a cold noodle dish, coated in a sweet & spicy gochujang sauce with kimchi, cucumbers tossed in a […]
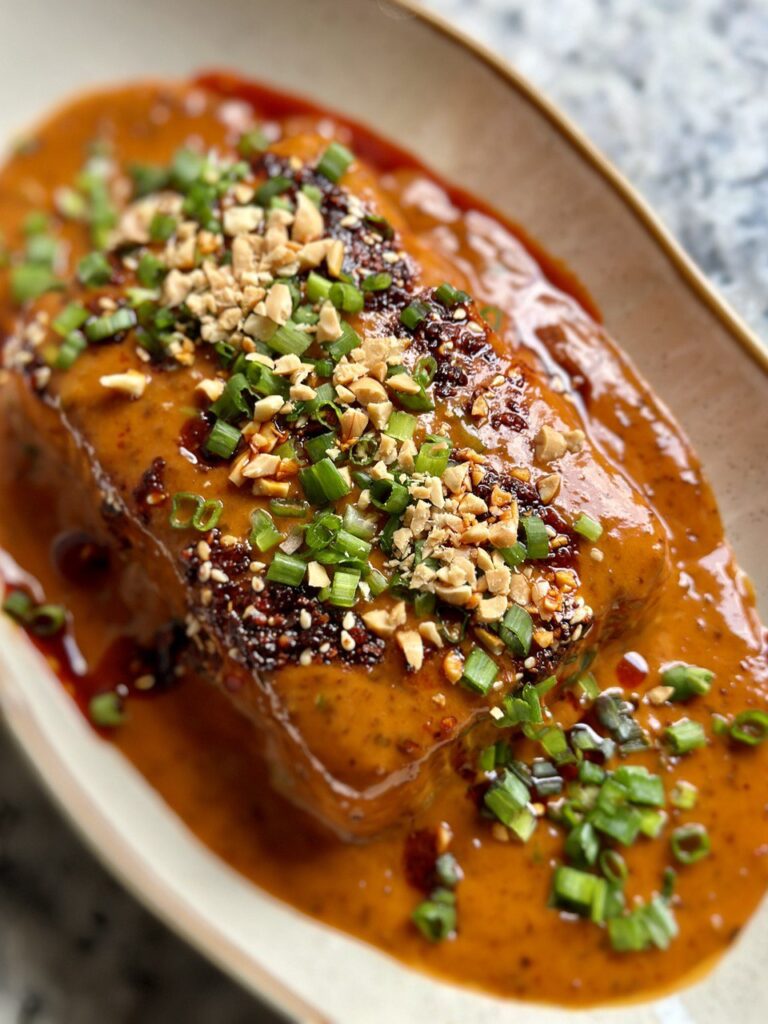
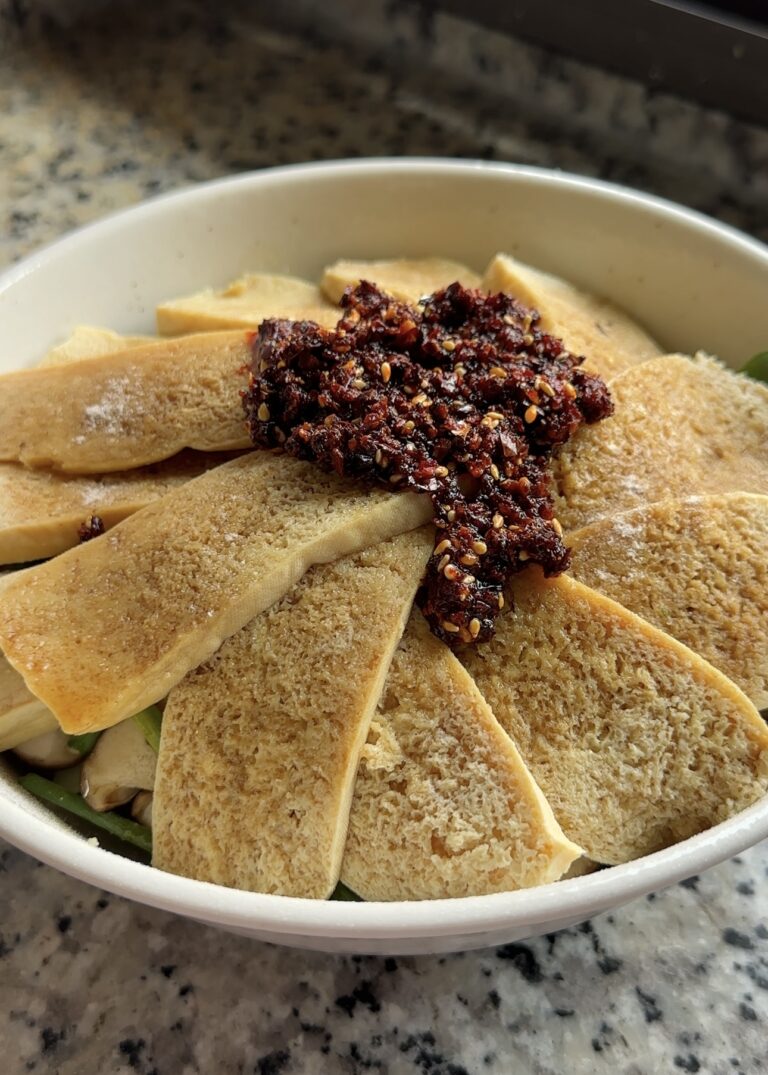
This 5-minute flavourful silken tofu (soft tofu) dish drenched in a creamy peanut gochujang sauce is the perfect protein packed meal when paired with rice […]
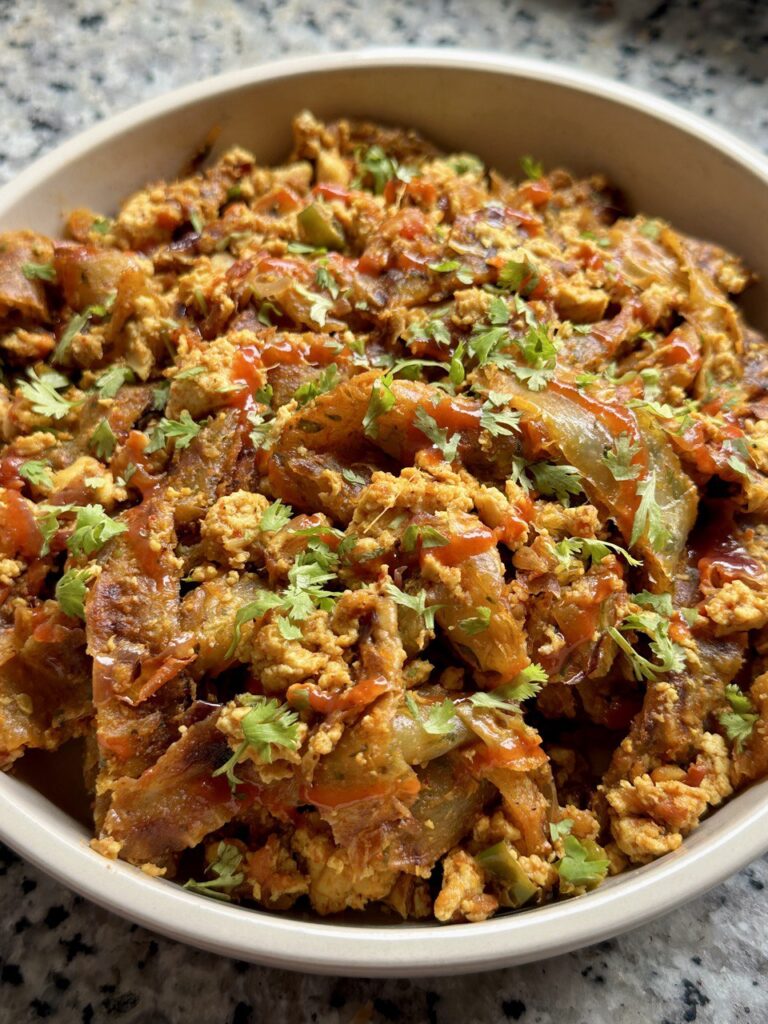
This kothu parotta is a plant based version of the classic south indian street food where flaky shredded parottas are cooked in spices and herbs. […]
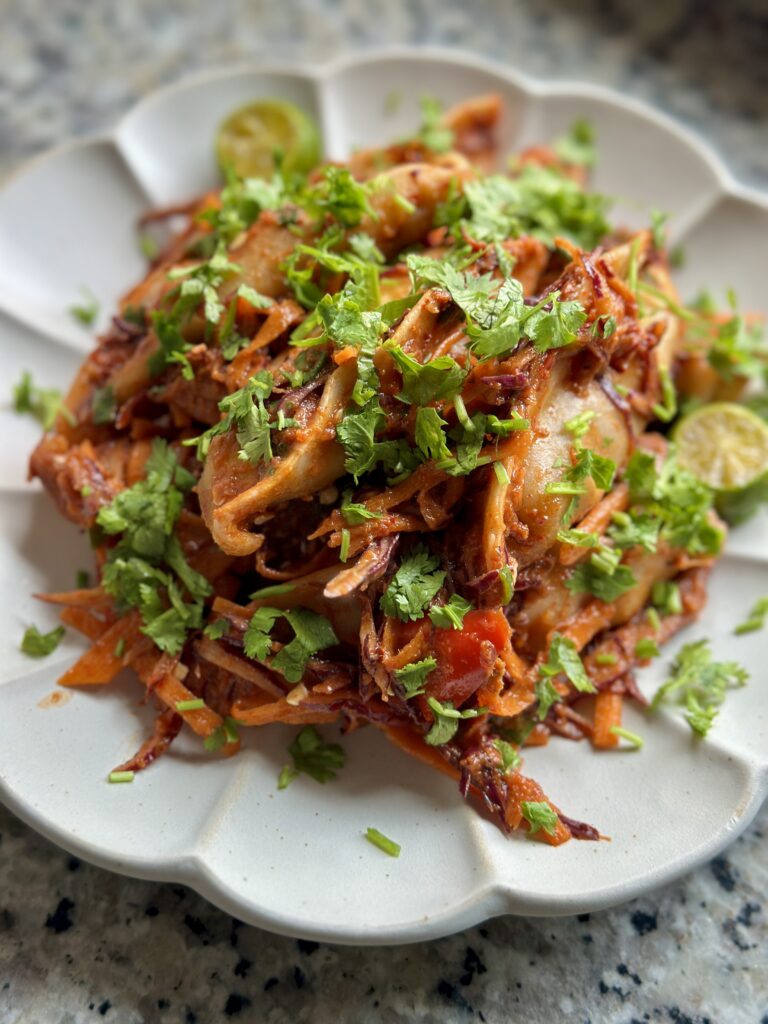
The viral dumpling salad with a thai-inspired twist – crispy dumplings, fresh vegetables, aromatics tossed in a fragrant, creamy thai red curry sauce. This viral […]
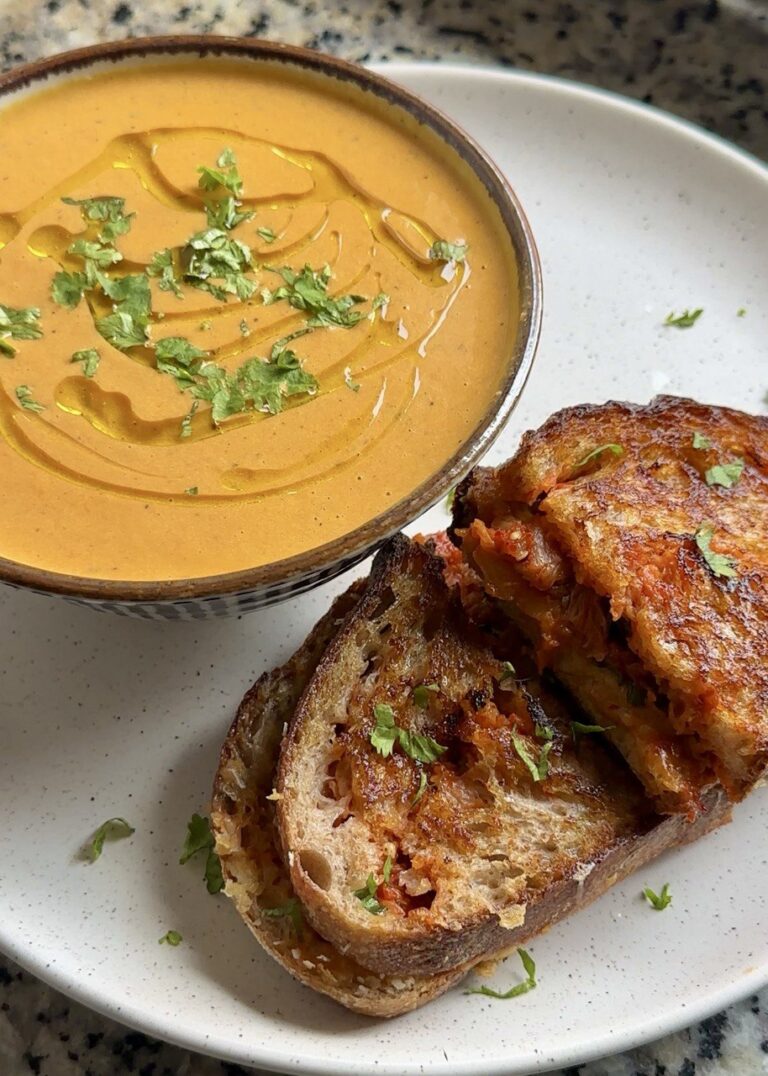
This ultimate kimchi grilled cheese made with 3 vegan cheeses and paired with a creamy tomato gochujang soup is essential for the cozy soup season! […]
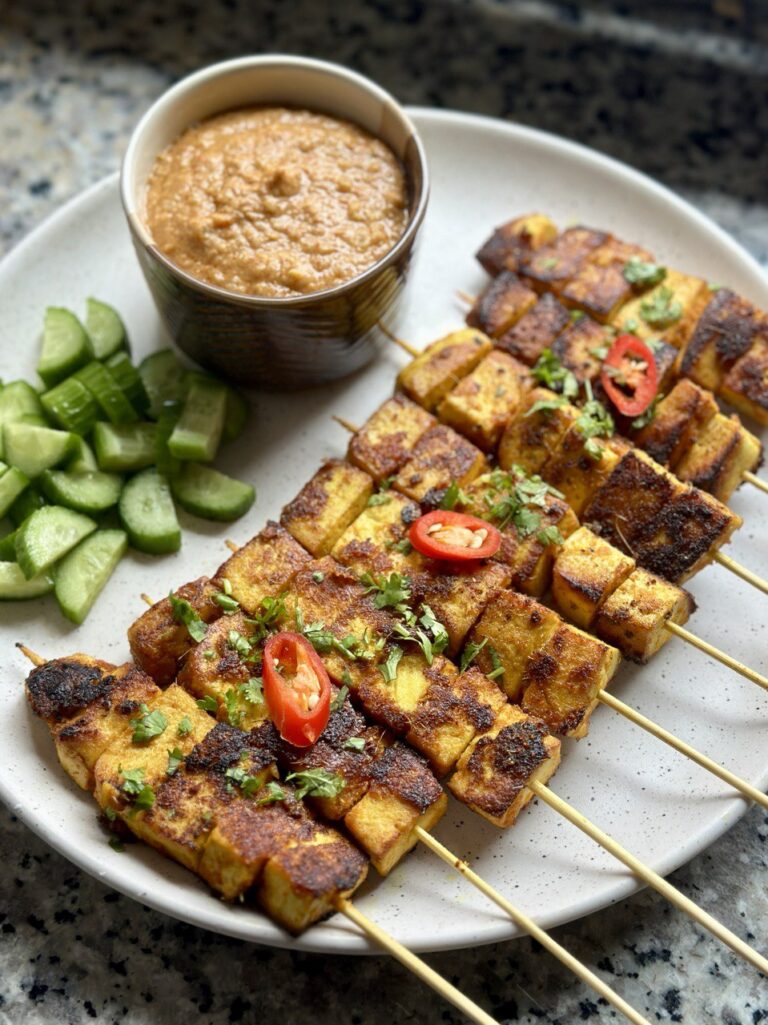
The best plant based, high protein satay – marinated tofu on skewers pan fried and served with a sweet and spicy peanut sauce! The origins […]
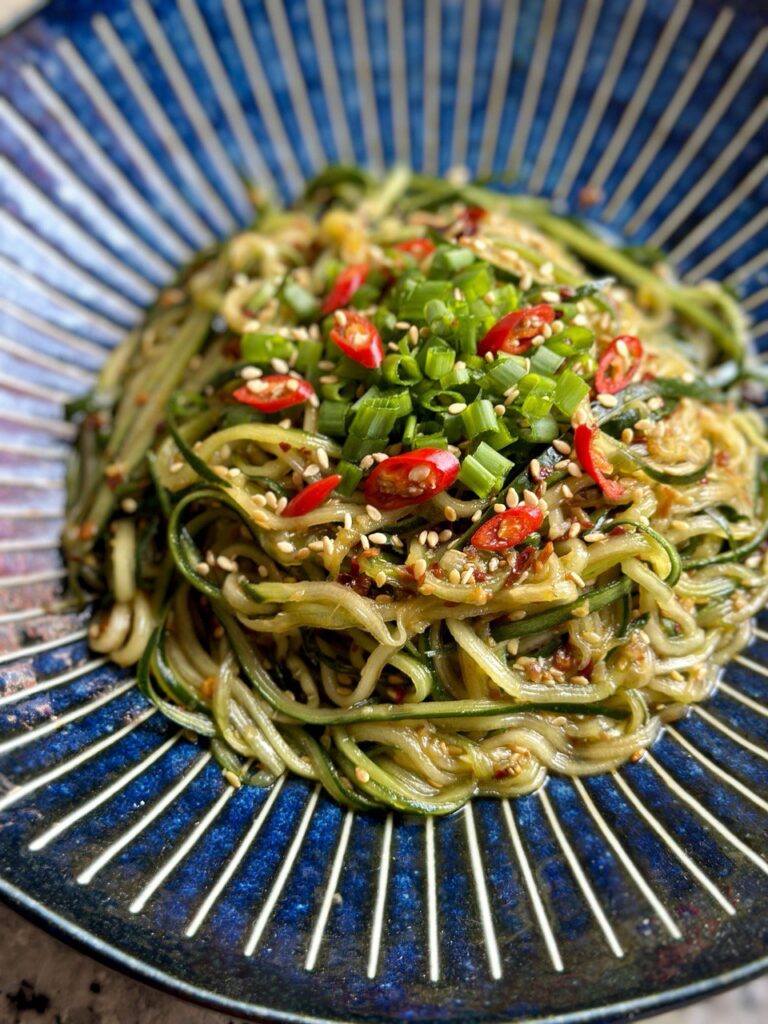
These refreshing thin cucumber noodles are tossed in aromatics, sesame seeds, chili oil and soy sauce. Gluten free option available. I wouldn’t say vegetable noodles […]
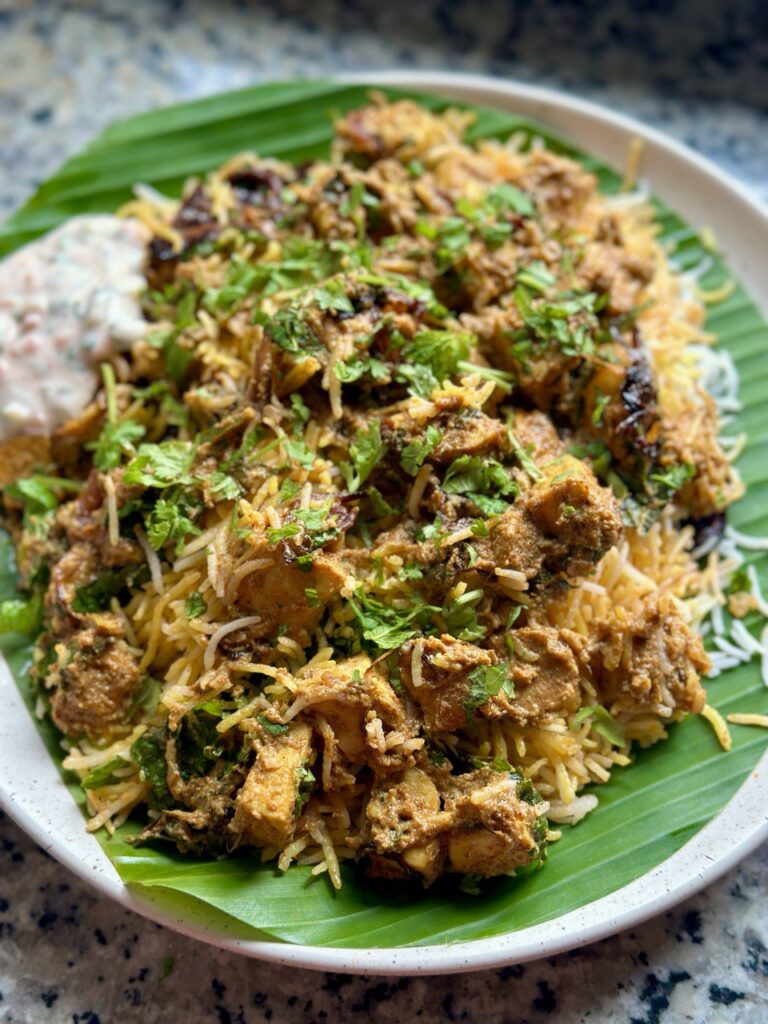
The ultimate star of all biryanis – this vegan biryani is packed with aromatics, spices, herbs and vegan ‘paneer’ made with tofu paired with a […]

These easier version of samosas filled with a generous amount of creamy butter ‘chicken’ filling are paired with a refreshing mint-yogurt chutney. The concept of […]